
From the time we moved in, we had two cheap taps on the basins in the guest bathrooms. Last week, one of the taps finally broke so we purchased some Belgravia Crosshead Basin Monobloc replacements to match our master bathroom fixtures.
In the past, we’ve always had plumbers replace taps because the pipework we inherited was a bit of a DIY botch job. With our burgeoning DIY skills, I put on my plumbing hat and set about replacing both taps myself. Plumbing, when you break it down, is not that complicated provided you have the correct tools, spanners and ratchets, and that you are familiar with the various attachments and hoses, and how they connect. If you have a good plumbing merchant, which we do, they will guide you through everything.
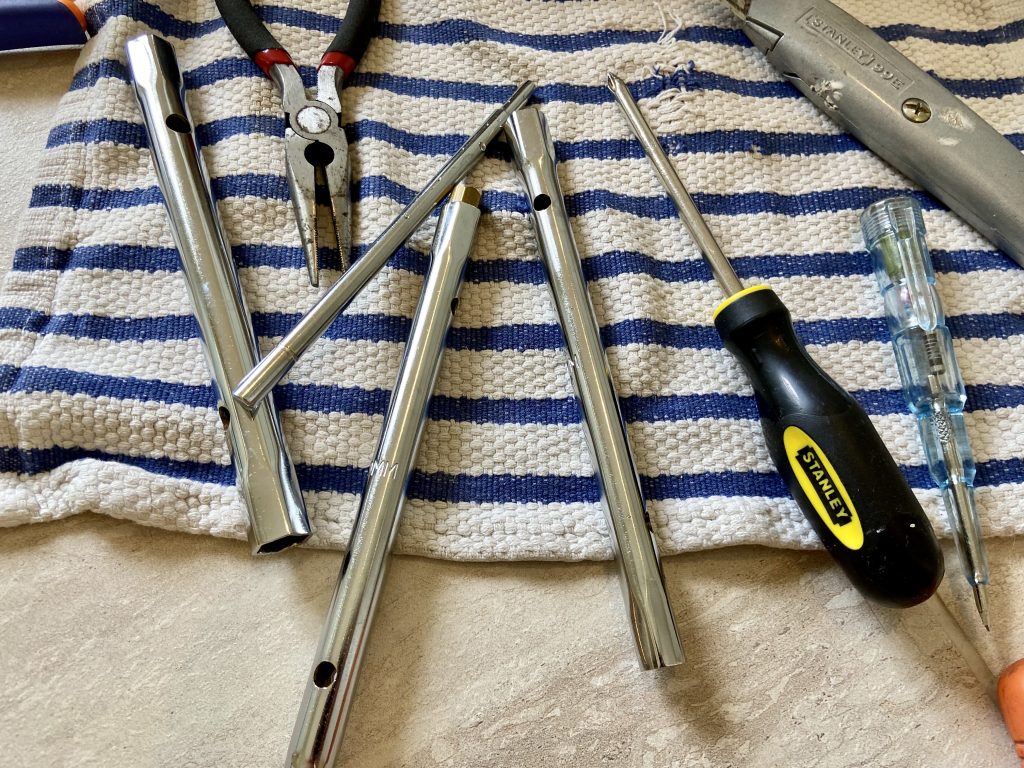
Removing the taps and waste plugs was relatively straightforward, but the jigsaw puzzle was about matching all the new parts up to the existing pipework and making the distances work. I did have to buy a Rothenberger monoblock tap spanner set (about £7) to remove the retaining nut from the old studs, and we used this tool to tighten the retaining nut on our new studs. Now that we have this set, it’ll come in handy for all our tap-related DIY projects. Our next project will more than likely be the utility room renovation towards the end of the summer, and there will be a fair amount of DIY plumbing.
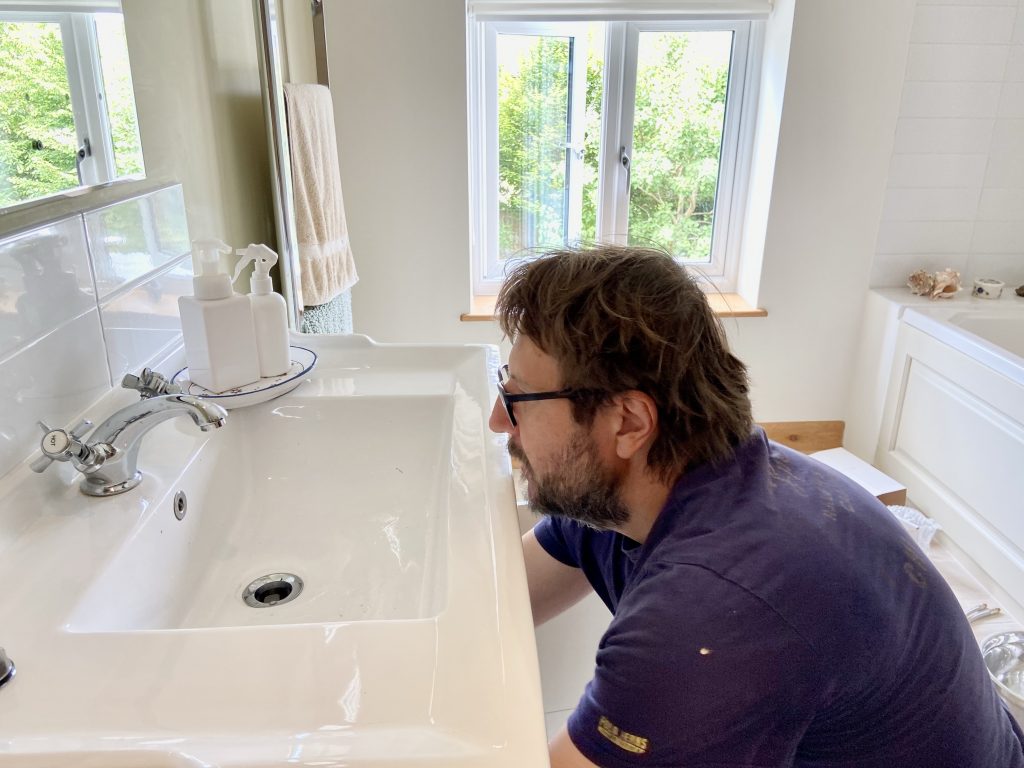
Working with bathroom and kitchen taps that are mounted into basins and sinks above cabinets is an absolute nightmare. Space is at a massive premium, and quite honesty I felt like I was a contortionist from Cirque du Soleil at times because you have to try and get inside the cabinet, both arms, and try to see what you’re doing. This was by far the biggest challenge and I eventually gave up trying to contort myself because it felt like a comedic yoga session befitting a scene from a Ben Stiller or Jim Carrey movie. So I resorted to getting my head in to see where things were, then popped my head out and worked ‘blind’ which was less taxing on the body.
If you’ve never changed a tap before, and are daunted by the prospect, I can suggest that you give it a go and just be patient. Turn off (or isolate) the water, and then work methodically. Each cabinet and piece of piping will be different (both of ours were completely different), so there’s no correct sequence to work in – just be logical in your approach.
I found that removing the waste and tap first, gave me more space to work in. I then tackled the tap, because it’s further back, and moved to the waste to finish things, but the pipework will often dictate the sequence you have to take. Try, if you can, to test for leaks after you complete each stage to avoid having to undo work.
I mentioned patience. This is key, because this work will test you, especially if you are working in a tight space that limits your range of motion. The benefit of doing this work yourself is that you will learn about your pipework, gather some DIY experience and you will save yourself a fair amount of money on labour. But keep a plumber on standby or speed dial in case things go pear-shaped and are beyond your skillset to rectify. Also know where your stopcock is to shut your home’s water down in case things go horribly wrong.
It took a few hours with some colourful, occasional profanity directed at tools and cabinets, but the new taps are in, and are looking good. I have to say that Crosswater make solid, heavy, well-built taps and I don’t think we’ll have to replace them for years (hopefully decades) to come.

