
We’ve been looking at camera and security options for a while, but nothing was ticking the boxes we required until we came across the Netatmo Presence Outdoor Camera*.
Living in a rural location, there are many factors we needed to take into consideration when it came to security. We wanted a camera and floodlight that was intelligent and that could alert us to different movements.
The Netatmo Presence does just that because it differentiates motion caused by people, cars and animals and you can set up how to deal with them. We get notifications of all movement on our phones, but the floodlight only comes on at nighttime when people or cars are identified.
The detection of people, cars and animals on our set up has been incredibly accurate. In addition to this, we have a magnolia tree in a pot located in front of the camera, and I thought the leaves blowing in the wind would cause notifications and alerts to go off, but this has not been the case. To date, we’ve not had a single false alert.
Netatmo also have a model with a siren, which we didn’t opt for, because that would have been overkill for us, but it makes for an excellent security option for those want to scare off would-be intruders.
In this video review, we unbox and set up the camera, and we use it for a week before giving our honest verdict from my geek perspective and from Kirsten’s more pragmatic, non-techie side.
The iPhone and iPad app is clean with a live preview and your latest notifications. There are no design bells and whistles in terms of the app’s appearance, but we’re fine with that because you want an app that’s functional and quick to load when you get a potential security alert. You can also download any of the videos from your app directly to your camera roll, which is very handy.
Setting up an FTP server on Mac for the Netatmo Presence Outdoor Camera
To copy and store video clips from the camera on my Mac required me to purchase Langui from the App Store. This was a great value purchase because now all videos copy in seconds over WiFi from the camera to my Mac and we don’t have to pay for expensive cloud storage.
To get this solution up and running on a Mac just follow these simple steps.
Purchase, download and install Langui on your Mac. Fire up the app and start with the first tab. Select a folder on your Mac hard drive where you’d like to the save the videos to. I simply created a folder called FTP and pointed Langui to use this as my server and storage root.
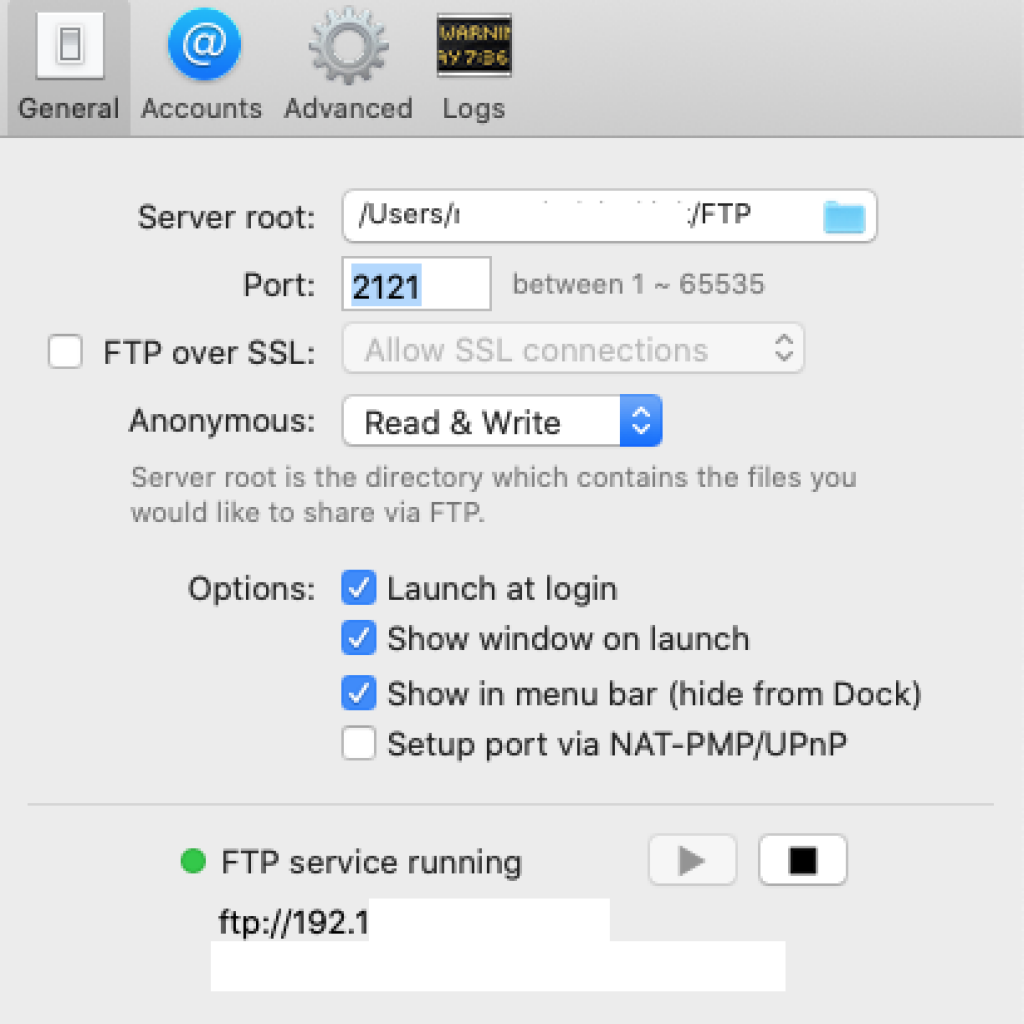
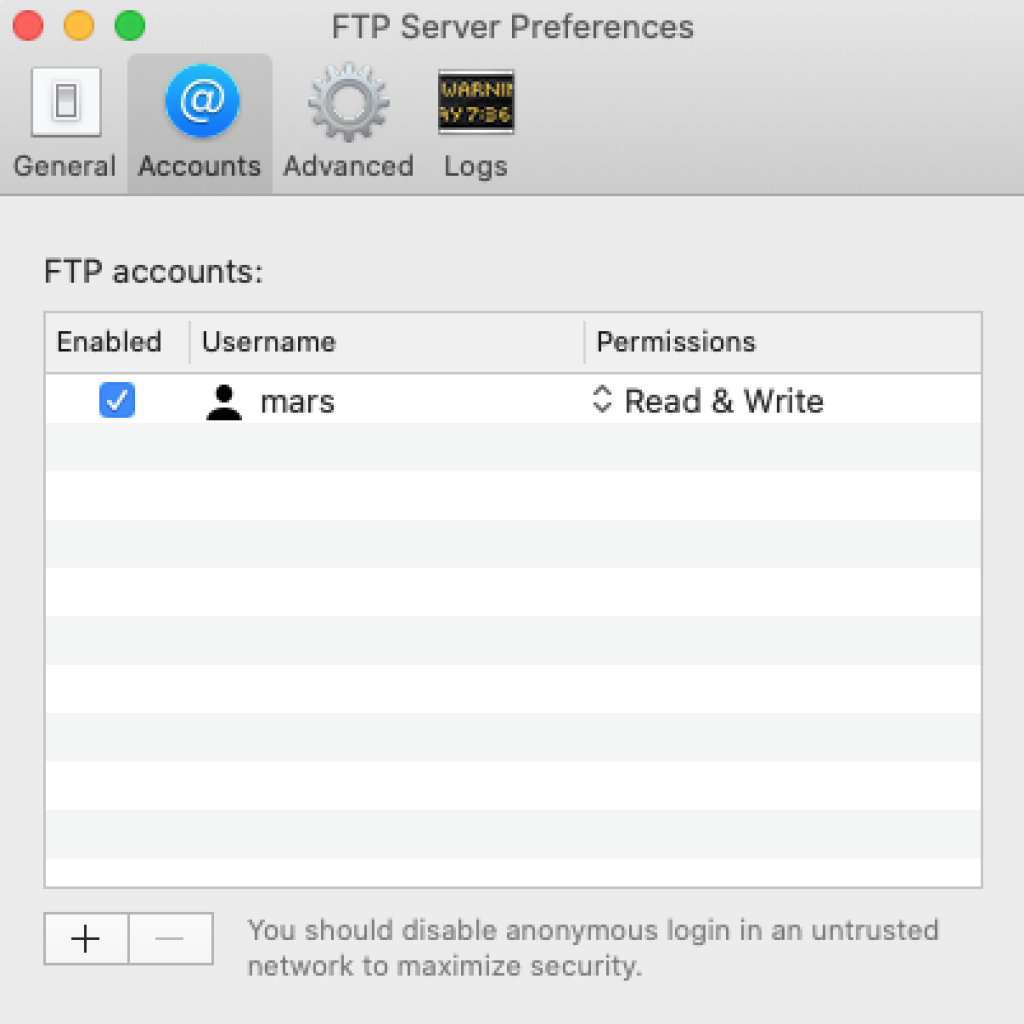
Go to the second Accounts tab. Create a user with a password. Again, pretty straight forward. Set permissions to Read and Write. Go back to the first tab, press the play button to start your FTP server. It’s that simple.
Now start up the Netatmo Security app on our phone, tablet or computer browser.
Go to Settings -> Cloud Storage -> FTP Storage
Select the Netatmo camera you want to configure and then enter all the settings from the Langui app in the corresponding fields. For the address, use the top option that’s all numbers: ftp://192.x.x.x (use your numbers).
All done. The entire process takes less than five minutes to complete, and you’ve now got a robust FTP server for your camera to save videos to. So if an intruder decided to smash the camera, chances are the first clips will have copied to your local computer. It’s a good solution.
Obviously your computer needs to be running all the time to save recordings. Mine runs 24/7 so that’s not an issue. If you have a laptop, you may need to consider the Dropbox option or HomeKit video when Netatmo release their next update.