
Since posting our review of the Netatmo Weather Station, we’ve received numerous questions about how to mount the Netatmo anemometer and rain gauge.
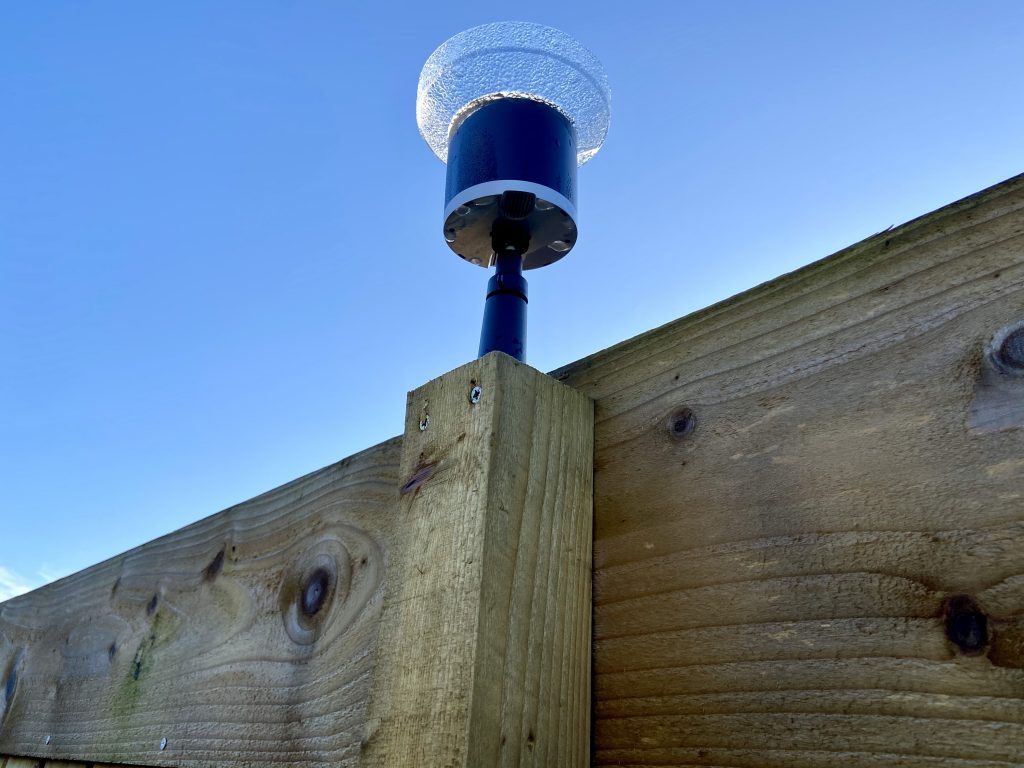
After deciding where we wanted to position the wind and rain gauge, we looked at the best way of doing it. Since we opted for our log store as the final location, we had a wood fence to work with, so we made a make-shift bracket and stand from wood offcuts that allowed us to mount the respective units (as seen in the image below). We used a bolt that ran through the wood and screwed into the bottom of the module.
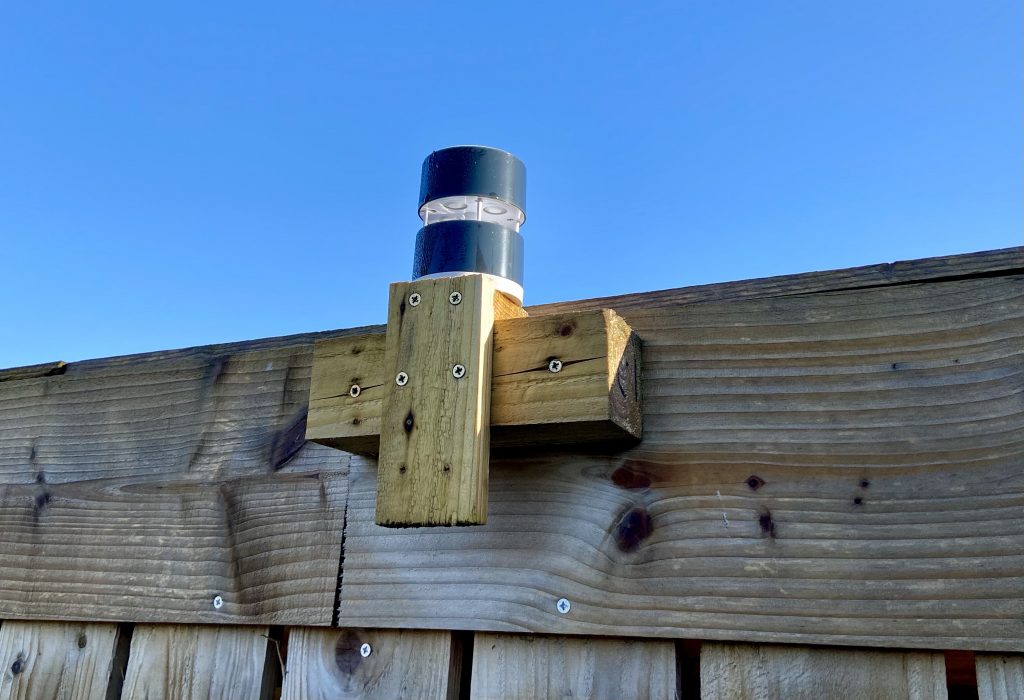
There were a few issues with this solution – it doesn’t look very elegant or smart (even though it’s not visible from the front), and it was very difficult to get the modules to be perfectly level.
By far the best, easiest, safest and most elegant way is to use the mounting kits that Netatmo sells for these modules. We removed the wood brackets, and both our rain gauge and anemometer are now both mounted on these Netatmo supports.
They’re super easy to mount to wood, tile or brick surfaces, which you can position your modules on a wall or on the roof. It’s equally easy to adjust and tilt them to be perfectly level.
Yes, they’re a tad pricy (£19.99) but if you’re looking for a smart, professional solution to mount your anemometer or wind gauge, I would definitely recommend these mounts. They are extremely robust and well made, and also offer the ability to mount your modules on posts or rails.