
Quite honestly I can’t understand what’s going on. Everything is breaking. First the motorised underfloor heating valve; today the pump on our home sewage treatment plant. This is my step-by-step guide on how to change diaphragms on a Secoh pump.
An important starting tip and note. We check that our pump is working a couple of times a week. If it’s stopped working on your home sewage treatment plant, it’s imperative you get it fixed ASAP. If you don’t, your plant will stop breaking down and processing the matter in your tank, and it’s going to start smelling. You need to avoid this by fixing it immediately.
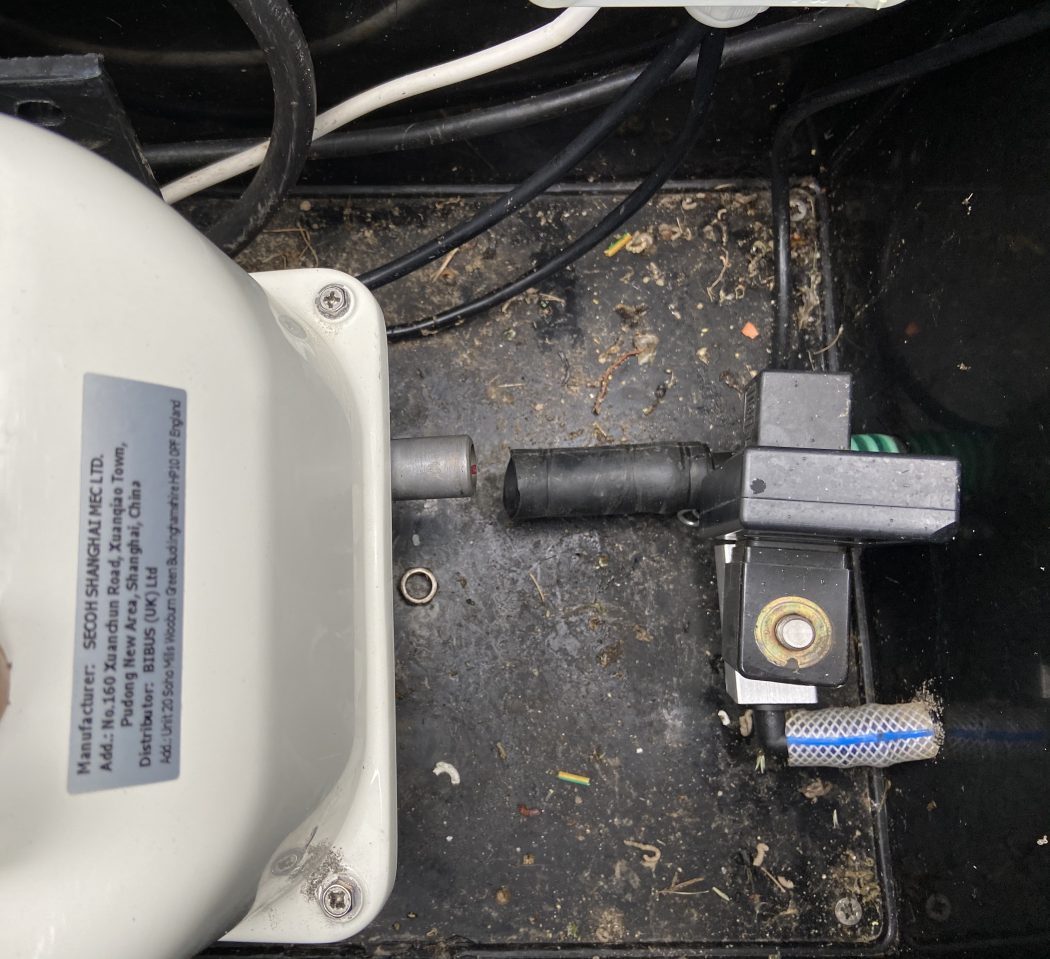
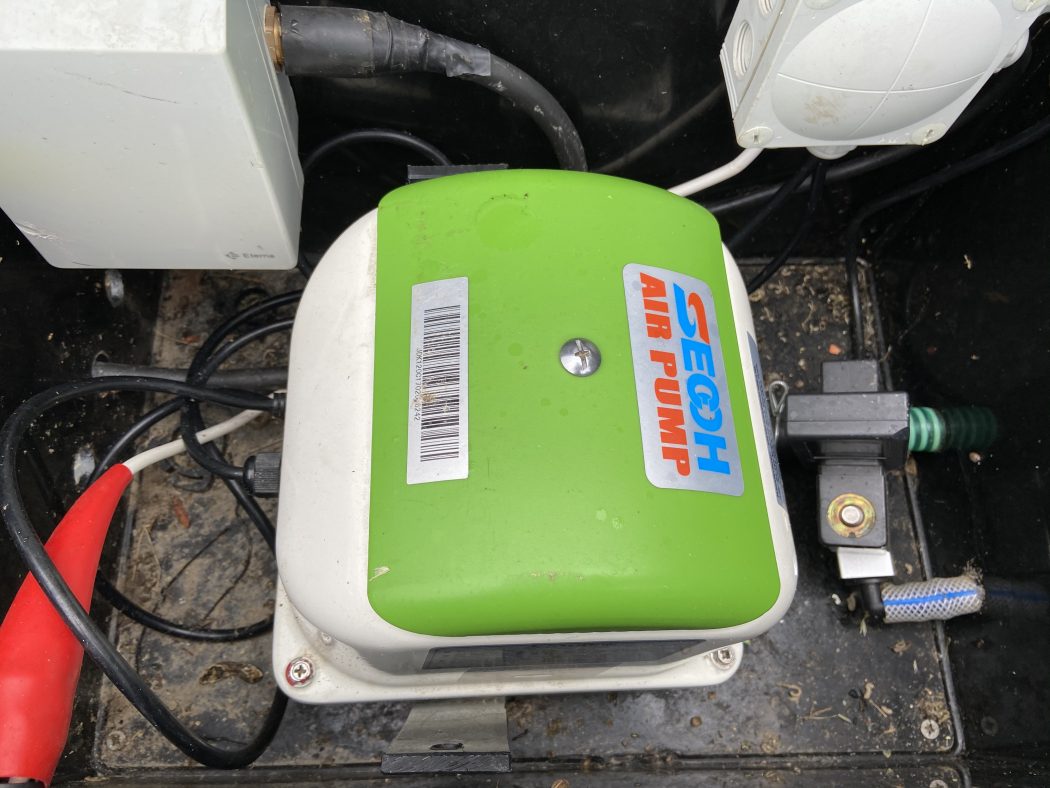
So let’s get started with my guide on how to change diaphragms on this Secoh pump. The housing for our home sewage treatment plant Secoh blower pump has a red light – when a diaphragm fails that light goes on and the pump stops working and is silent. This means it’s time to change the diaphragms and this typically happens once a year.
The first thing you have to do is cut power to the pump. Then take off the clips from the rubber pipe that connects the blower to the tank.
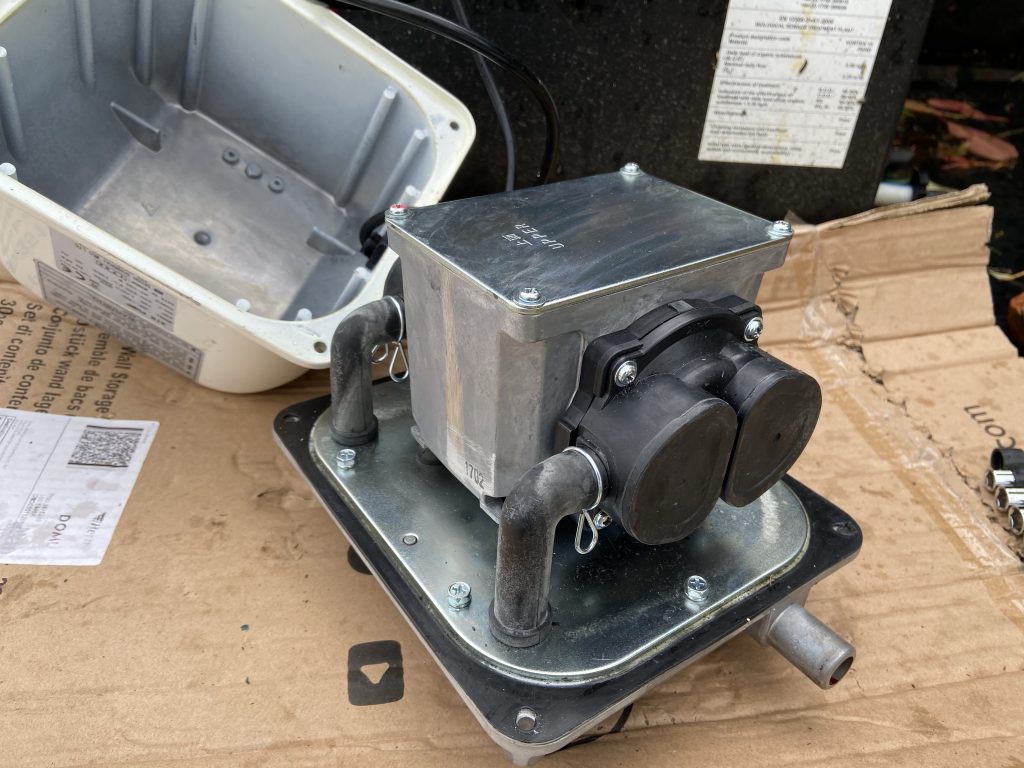
With the rubber pipe disconnected, remove the pump from the housing to work on it. Next, undo the four screws at the bottom of the pump box and take off the heavy metal cover.
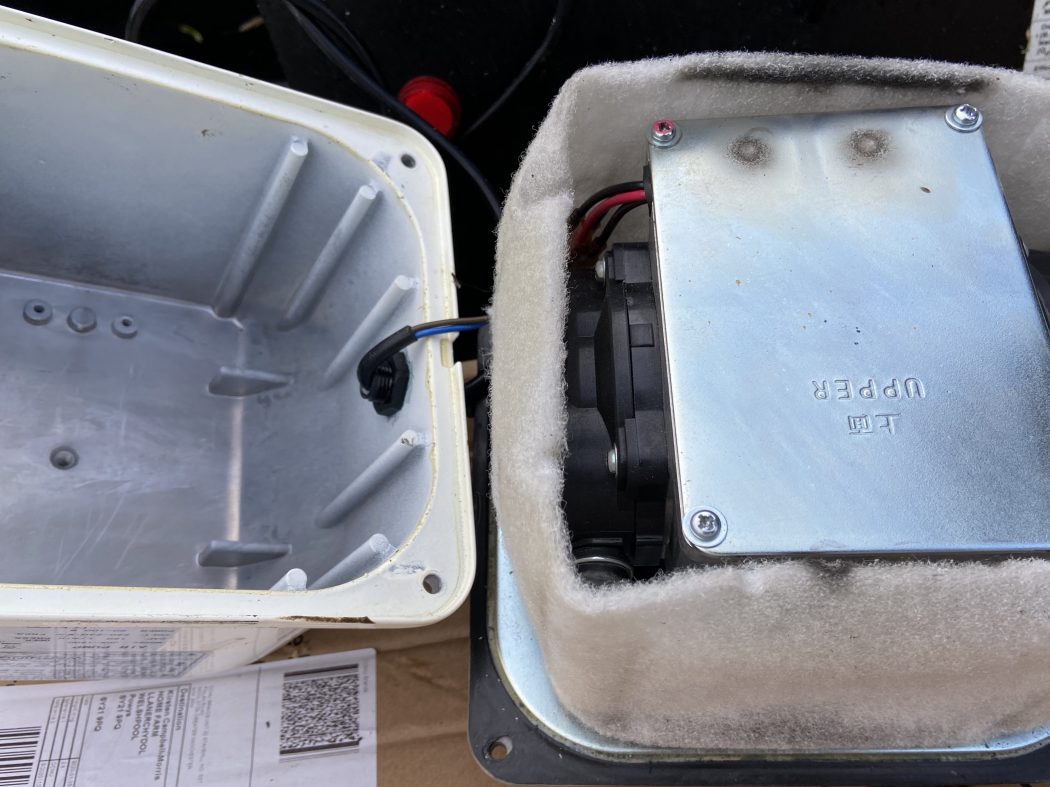
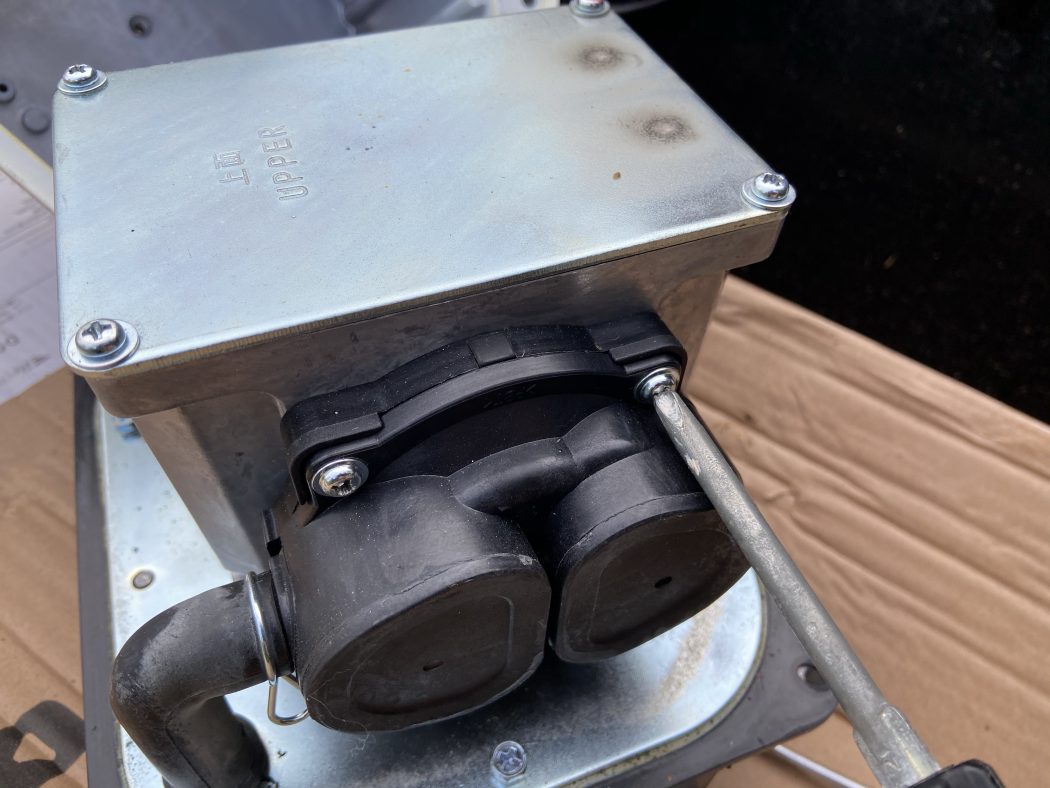
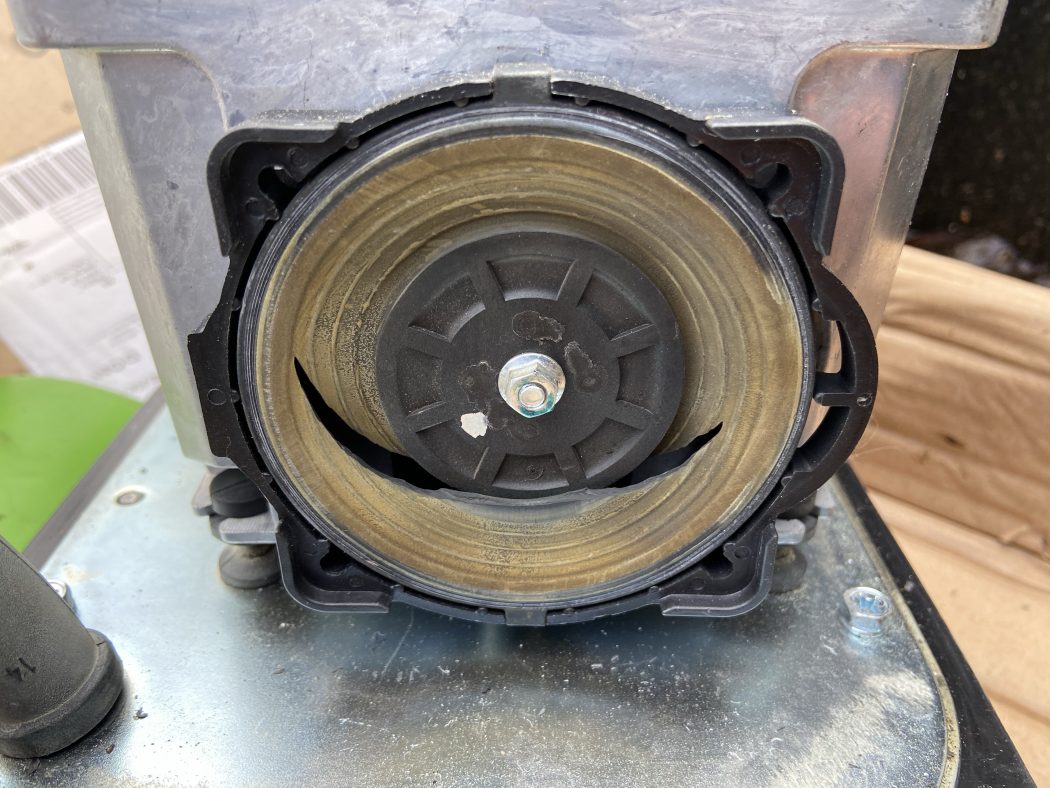
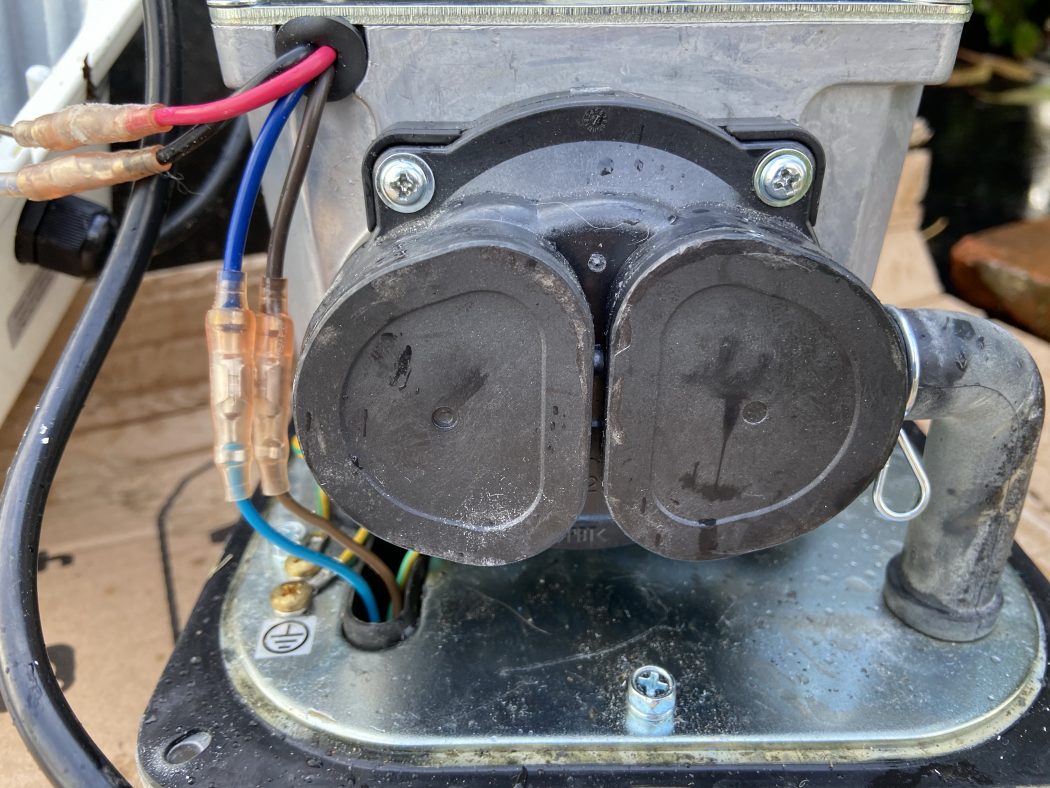
Remove the white synthetic protective filter and expose the black, plastic valve boxes. There are four screws holding these in place. There are two valve boxes and two diaphragms – they are located opposite each other on either side of a large magnet.
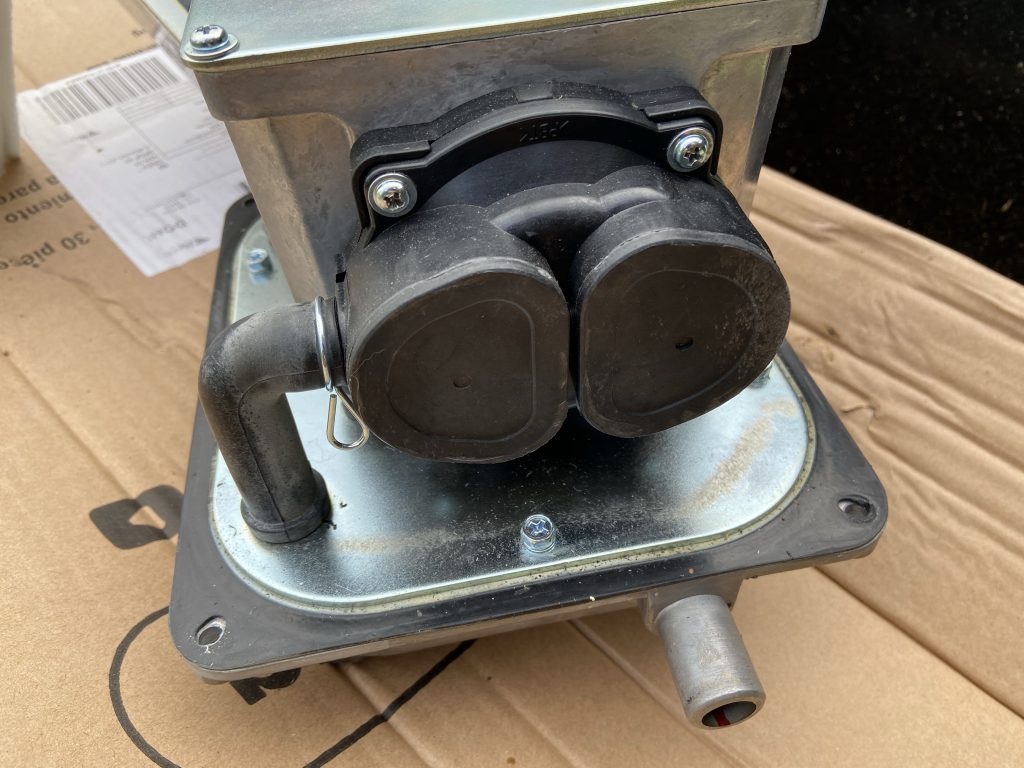
Unscrew the four screws on the valve boxes.
Then remove the valve box cover and this will reveal the diaphragm. As you can see, ours was damaged and needed replacing.
Unscrew the nut using a 7mm spanner.

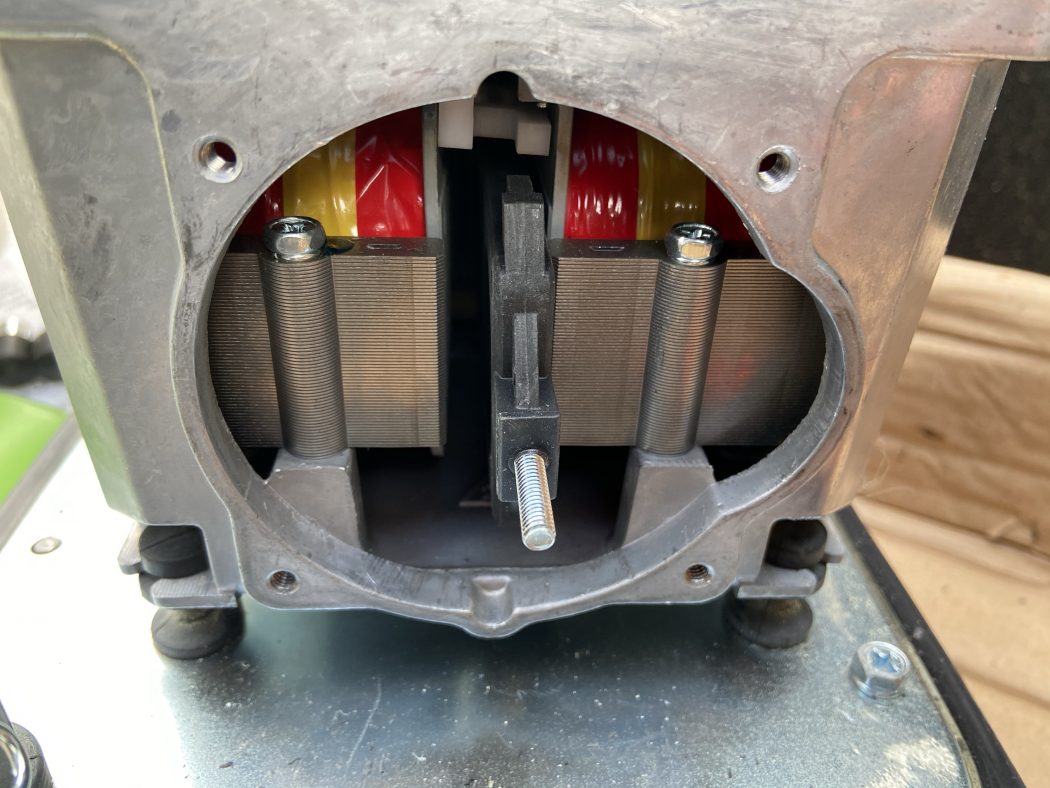
Remove the damaged diaphragm and discard it. You will now be able to see the magnets.
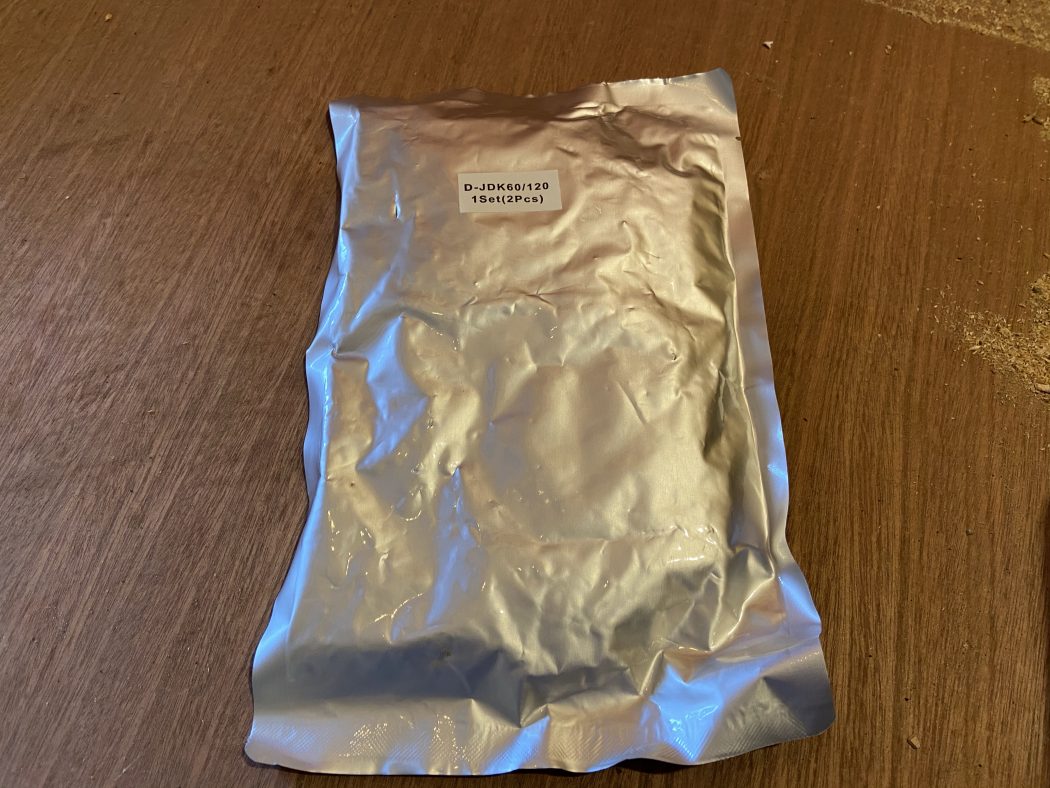
Open the package with your new replacement diaphragms.
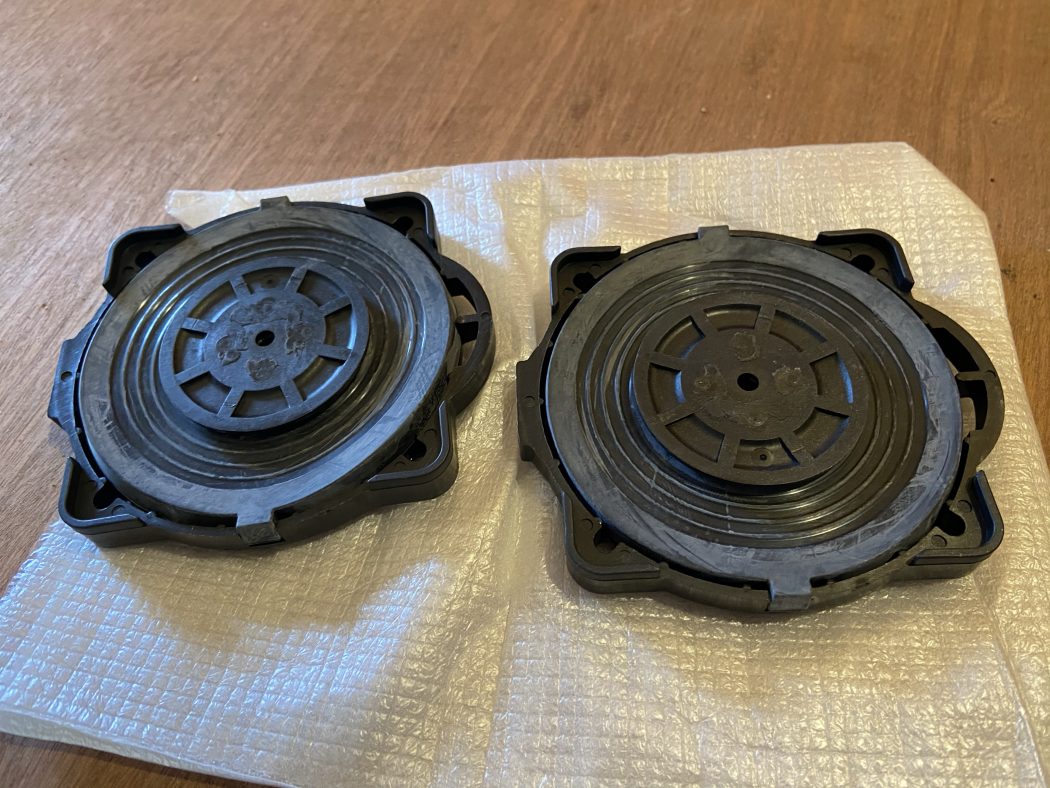
Place the new diaphragm on the bolt and follow this shape of the metal and design of the plastic moulding on the diaphragm. Tighten with the 7mm spanner.
Turn the unit around and repeat the same steps for the other diaphragm. When tightening, the magnet can cause the diaphragms to move and not follow the contours of the metal chassis. Make sure you physically align these.
You can use separators if you have them. I didn’t, and you don’t need them for our model because the diaphragms will automatically adjust themselves. You just need to be very careful here because if you don’t align everything perfectly, when you start the pump, it’ll damage your new diaphragms instantly.
When both diaphragms have been fitted and tightened, and are perfectly aligned, screw the valve box covers back on. All four screws.
With both valve box covers back on and covering the diaphragms we need to unscrew the four screws on top of the pump itself.
This provides access to the magnets. If you’d had separators, you would have opened this first and inserted them before fixing the new diaphragms.
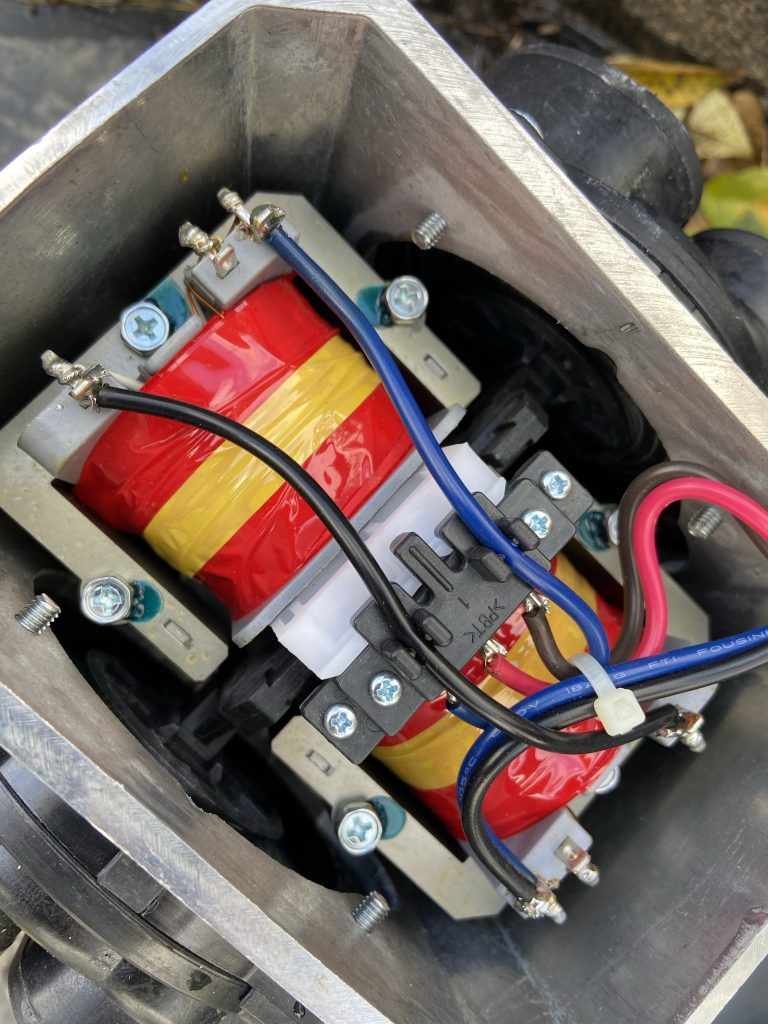
The reason we’ve opened the top is because we need to reset the pump. That big white plastic slider is called the auto stopper switch. As you can see in the photo, when the diaphragm fails, it switches the pump off, by sliding across.
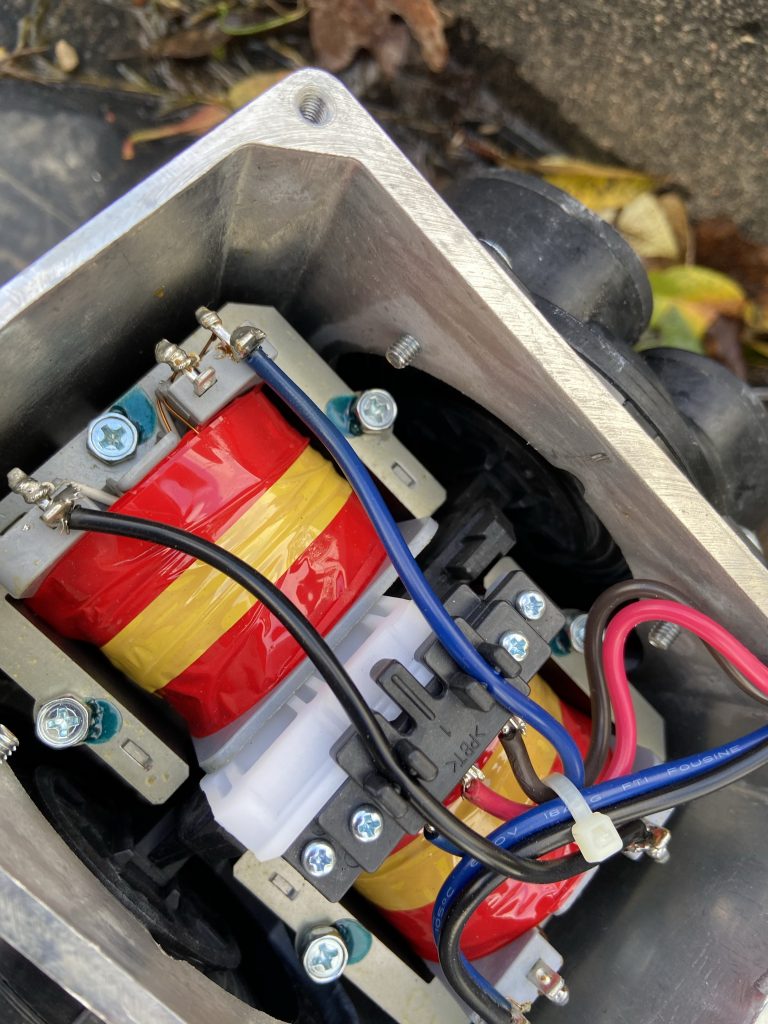
To reenable the pump, we need to slide that switch to the centre. When you slide it, make sure it clicks and settles in the centre position.
Put the lid covering back on.
At this stage, I briefly turned the pump back on, for just a few seconds, to see if it works. If it’s silent, something is still wrong. Backtrack your steps.
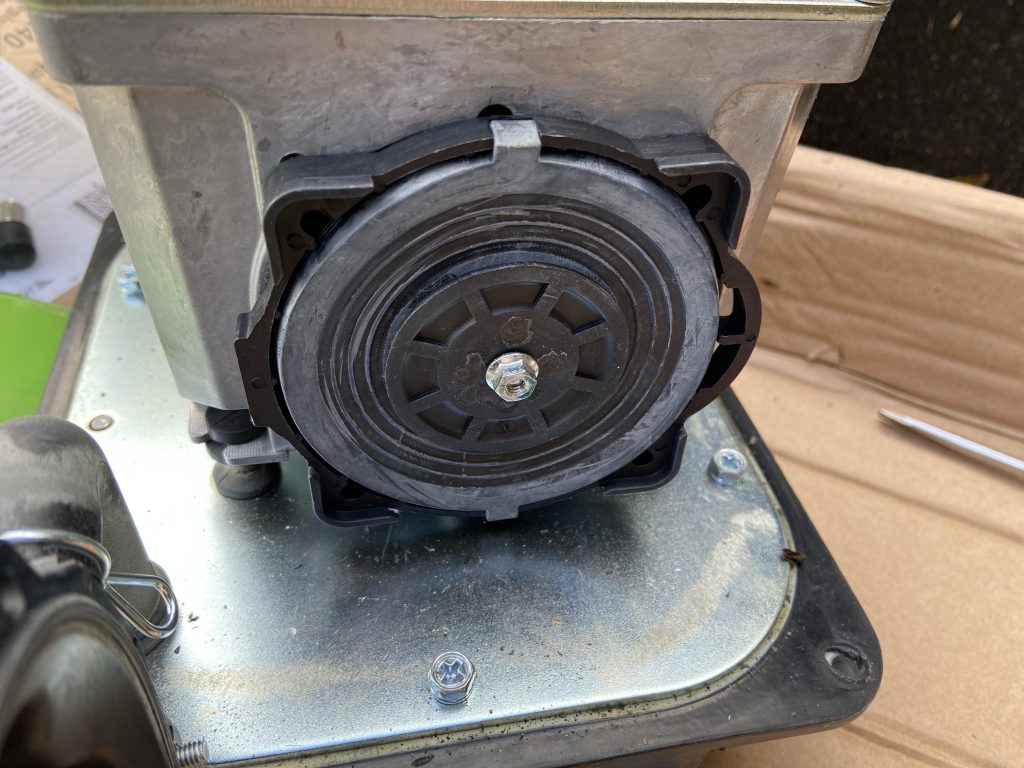
If it turns on and is rumbling, you’ve successfully changed the diaphragm and reset the pump. Turn it off, screw the green cover back on, and fit back in the housing, reattaching and fastening the rubber hose to the pump.
All done: how to change diaphragms
That’s it. We’re done with our quick tutorial on how to change diaphragms on this Secoh blower pump. The new diaphragms should last at least one year.
My closing advice is that you can change them yourself and you just need be patient and careful as the risk exists that if you mount the replacement diaphragms incorrectly they can get damaged and you’ll have to do it again.