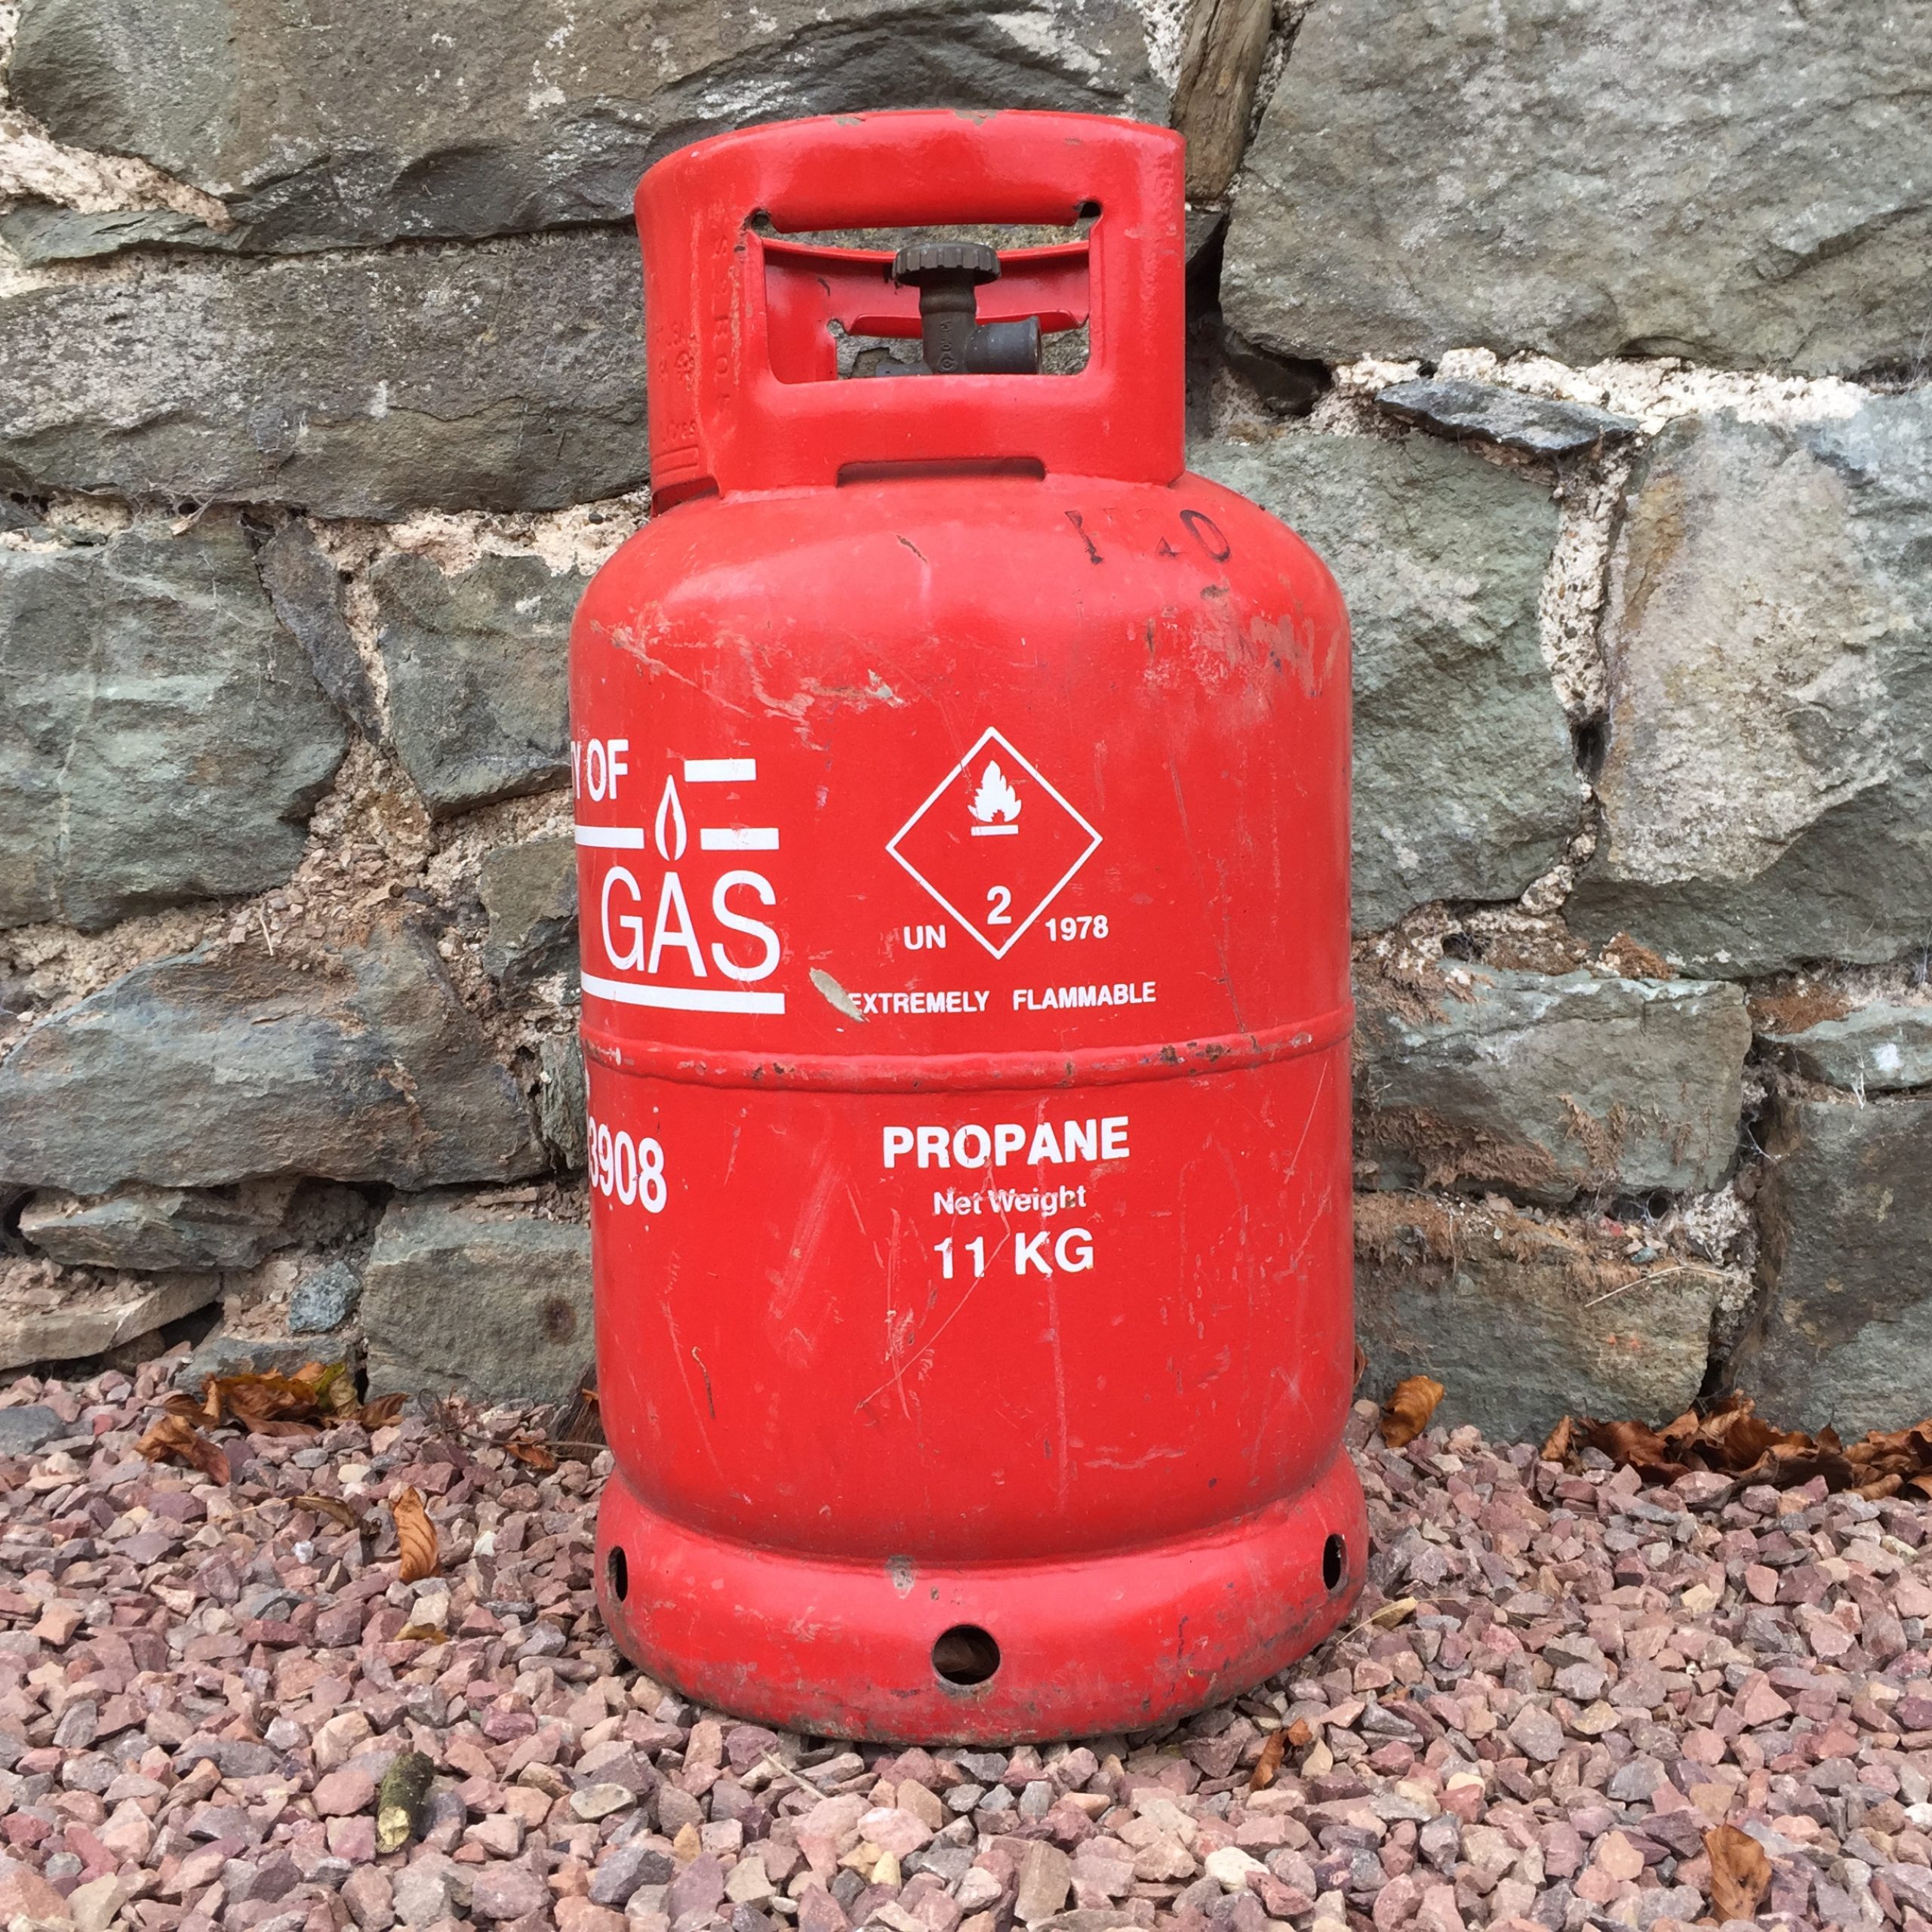
We use an 11kg propane gas cylinder that’s connected to our oven. It is located outside, and needs replacing every 3-4 months. Changing it is a simple exercise, but there are a couple of small tips for those that are uninitiated and have not done this before. This article is a step-by-step guide on how to change a domestic propane gas cylinder in the UK.
First of all, you’ll know that your gas canister/cylinder is empty because when you turn your oven on, the gas flame goes out or doesn’t come on at all. When you lift the empty cylinder you’ll also notice that it’s significantly lighter than a full one.
We keep a replacement in the garage, so when the gas runs out, you simply have to get the full cylinder and hook it up, which takes a couple of minutes to do.
Step 1
You’ll need a spanner and some protective clothing. I recommend putting on some steel capped boots or wellies in case you drop the cylinder on your foot and some gloves to protect your hands.
For the spanner, I’ve found that a 250mm adjustable heavy duty one is the best option.

Step 2
Located on the top of our cylinder is an open and close valve. Turn the valve in the direction shown to close it.

Step 3
This is the most important tip. You’ve probably heard the moniker “righty tighty, lefty loosy” – well, that doesn’t apply to gas cylinders. I discovered this rather painfully the first time I went to change the canister and proceeded to tighten the nut to an obscene level.
Using a spanner, undo the nut on the cylinder that is attached to the high-pressure hose – please see this short video. You’ll see that you’re turning right to loosen the nut.
Step 4
Once the nut is loosened, use your fingers to release it. Remove the empty cylinder and get your full replacement.
Our gas cylinders come with a plastic cap that’s screwed into the valve. Use your fingers to unscrew it.

Step 5
By hand, reattach the valve to the canister and tighten the nut firmly so that it does not over-tighten, but is secure. I then use the spanner to gently tighten it, making sure it’s securely fastened. Remember, you’re turning left to tighten as in the video below.
Step 6
If you’re certain that everything is securely fastened, turn the valve to “open” the gas. Don’t forget to do this step, because if you don’t the gas won’t release.

If you’ve everything correctly, the gas source will be fully restored and you’re set to keep cooking.
Additional Tips
I wouldn’t recommend storing your gas canisters indoors – we keep our empties and full replacements in our outdoor garage.
Also, always store them upright – do not lie them flat in storage.
