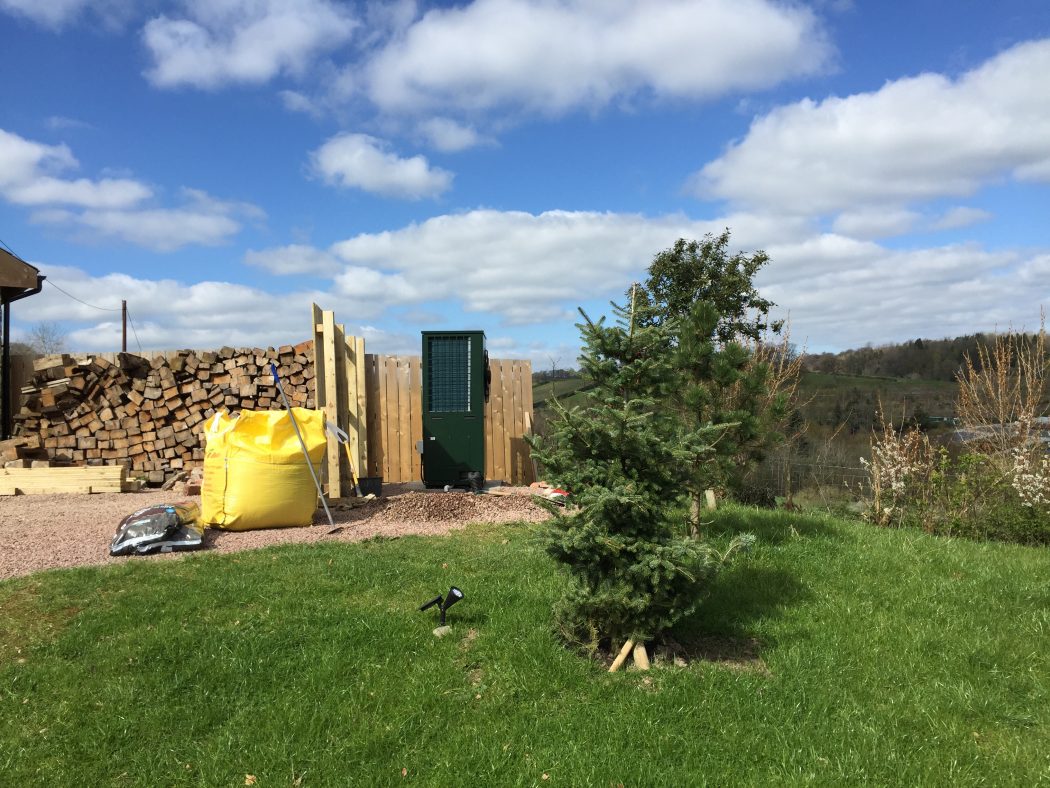
I am going to preempt this post by saying that we have never built anything from scratch, so when the air source heat pump was installed, it was an outlandish thought that we should build a log store around it.
A log store was never on the cards as an immediate project. Due to its size, the heat pump would be visible as you came up the driveway, so we decided to build a tidy fence around it and hide it from view. Never having constructed anything from wood, I was comfortable enough with my burgeoning DIY skills that we could cement some pillars into the ground and make a fence. And that’s precisely where we started.
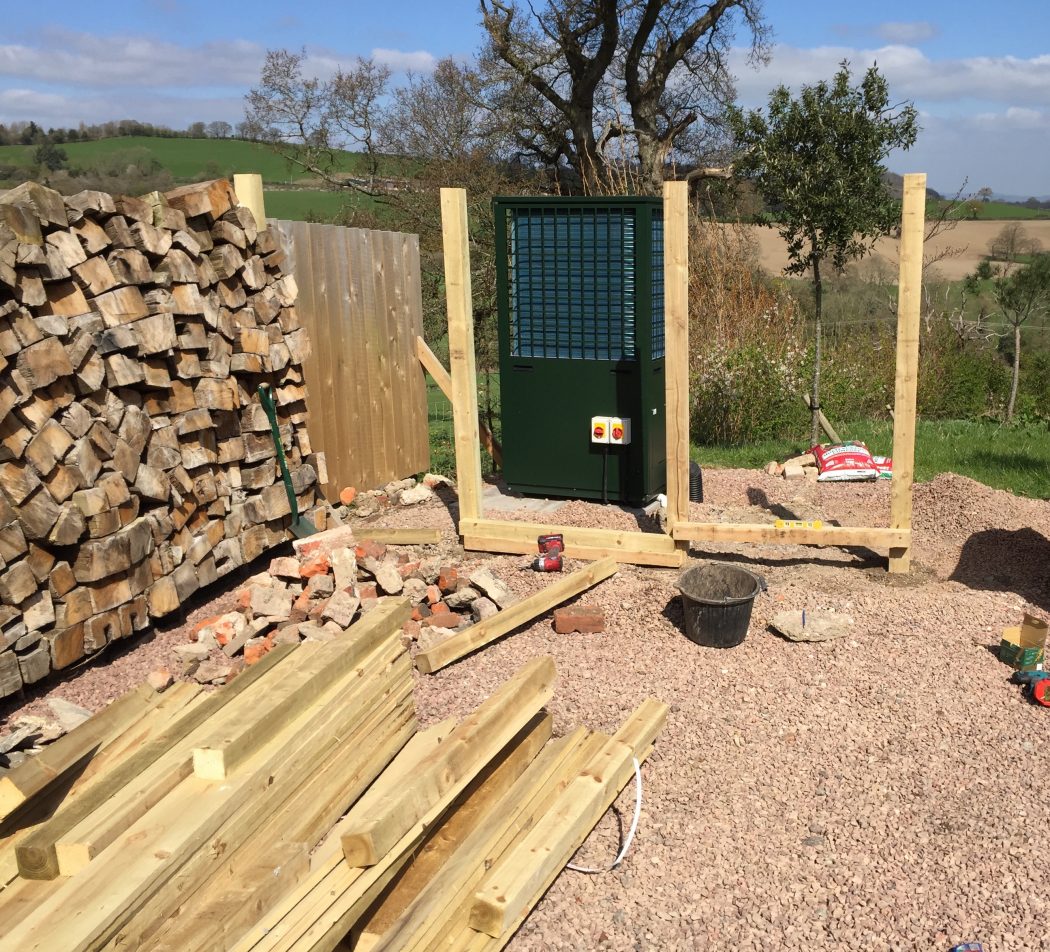
I headed down to the local hardware store and timber yard and purchased six heavy pillars, some cross beams and enough 20cm wide treated planks to build a 6m fence. Within a few days the wood was delivered and we got to work digging holes to drop and cement the pillars into the ground.


With the first four pillars in the ground (after giving the cement two days to set), we starting attaching the horizontal pieces of wood that we would screw our fence onto. I know a lot of people use nail guns for their speed, but we used high-quality galvanised screws to construct our entire fence.
With the basic frame in place, we cut our boards to length and started building our fence.
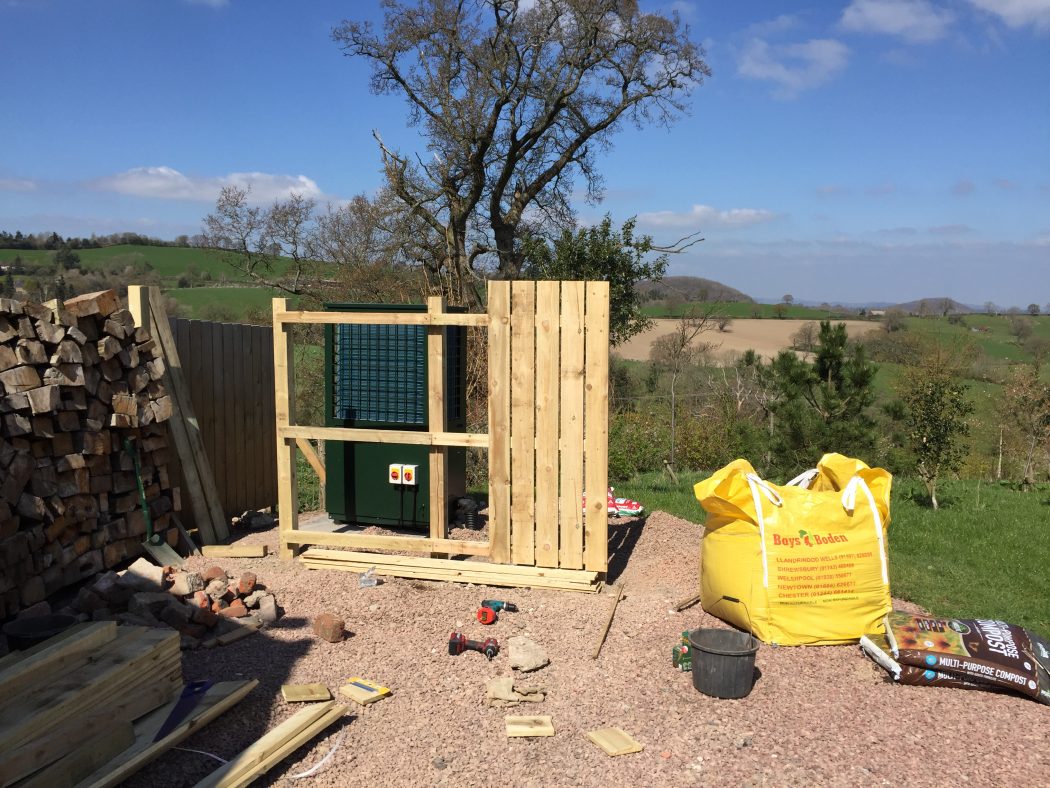
Within a couple of days, our fence was starting to actually look like a fence. Amazing.
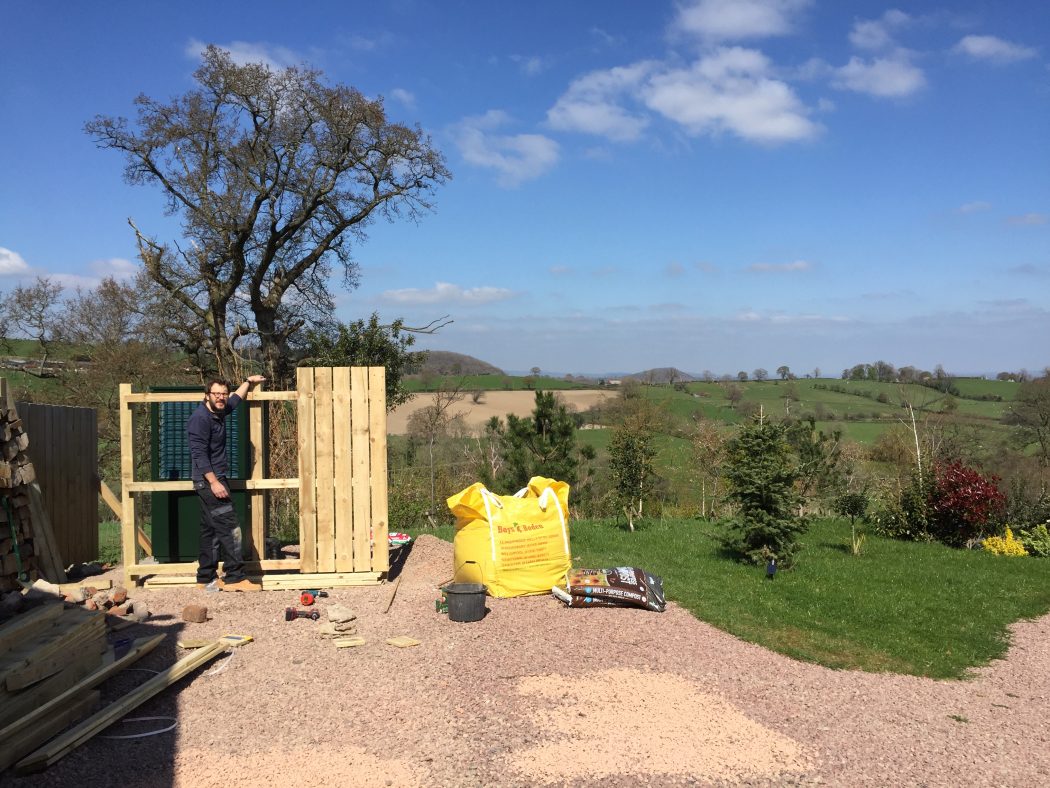
I’m not going to lie, this was hard work, but it was really satisfying to see something like this taking shape. Also, donning my DIY gear, I even felt like a fence builder.
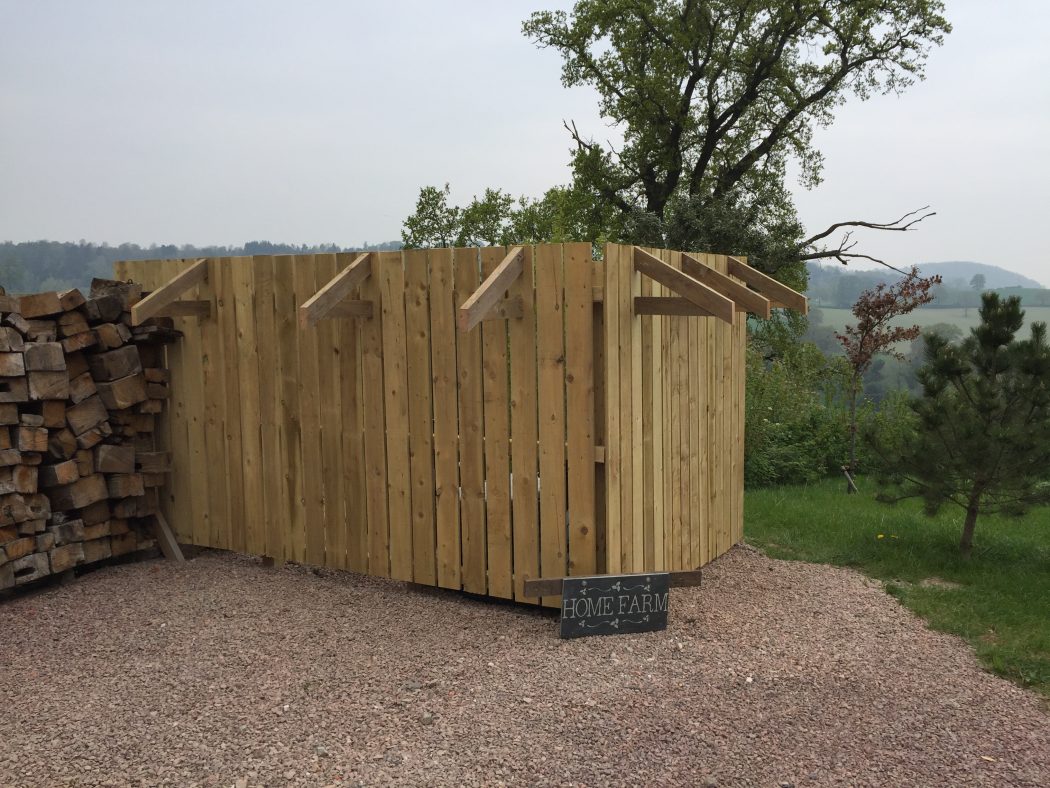
We then finished the remaining side, and were very pleased with ourselves when Kirsten thought the fence could lend itself very nicely to being transformed into a log store. We went online, and were astounded to see some of the prices. In order to get log stores running down both sides of our fence (about six metres in total), we would be paying in excess of £1,500 and we’d still have to assemble them ourselves.
There was no way we were going to spend that kind of money, so I was back at the hardware store and £200 later, we had enough wood to transform our humble fence into a purpose built log store.
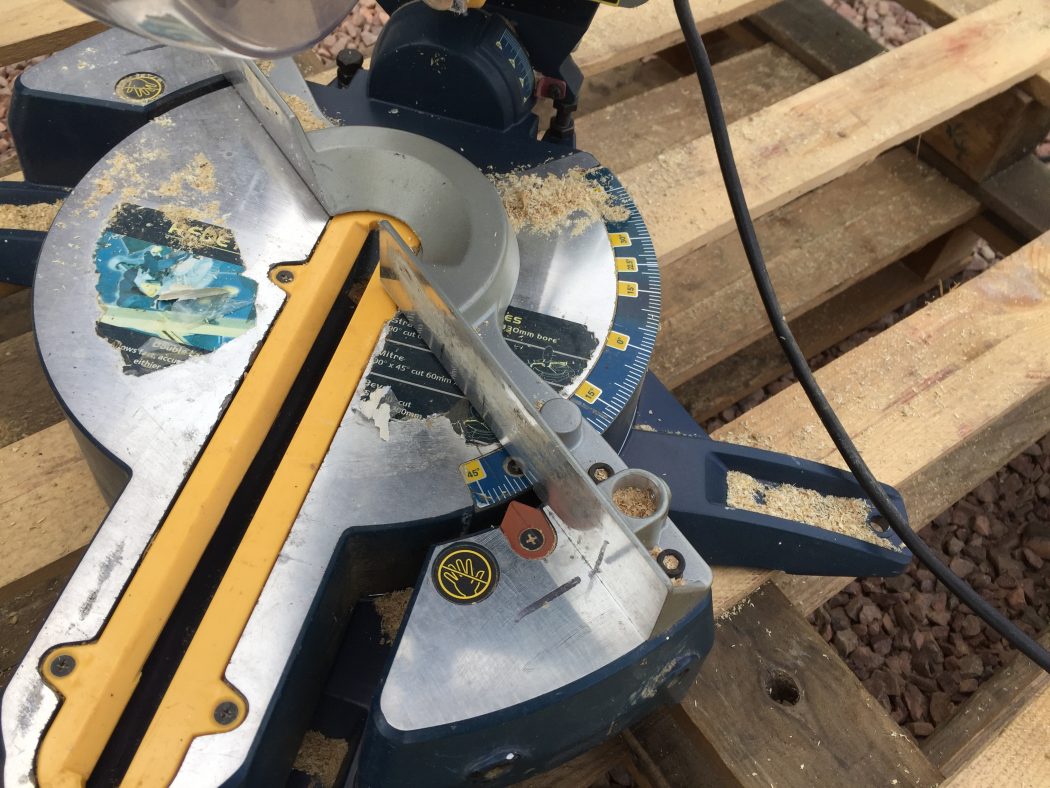
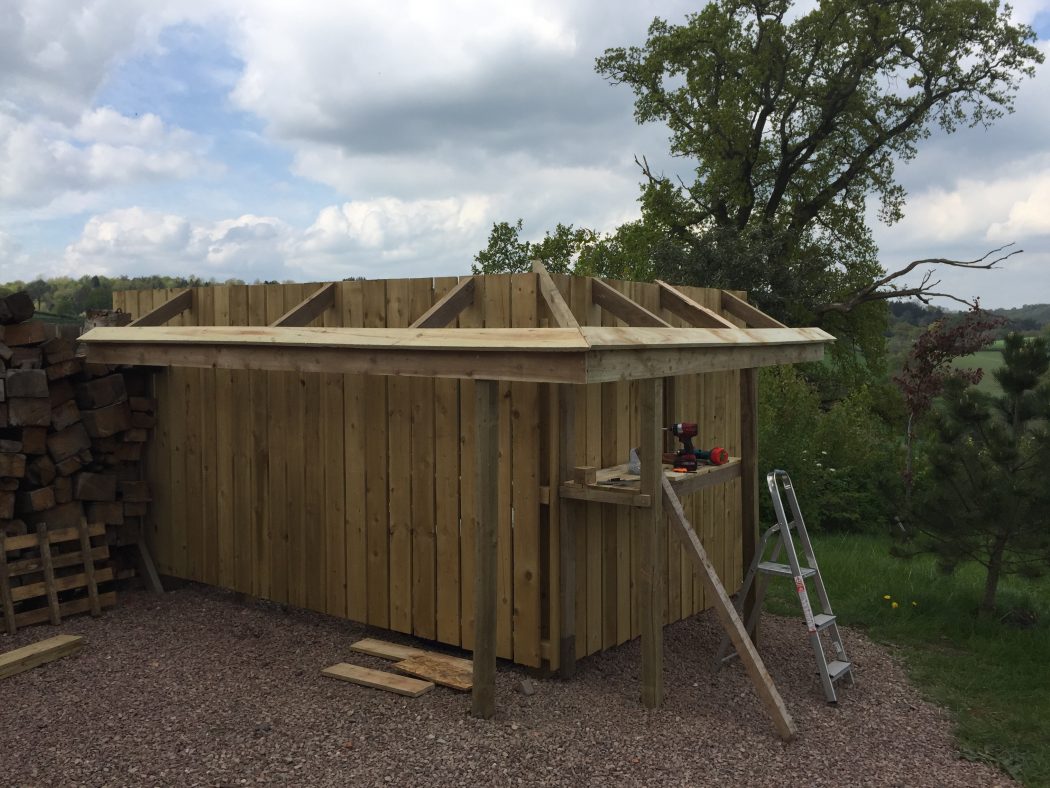
After a lot of head scratching, drawings and calculations (and using a mitre saw for the first time), we put up our supports for the roof.
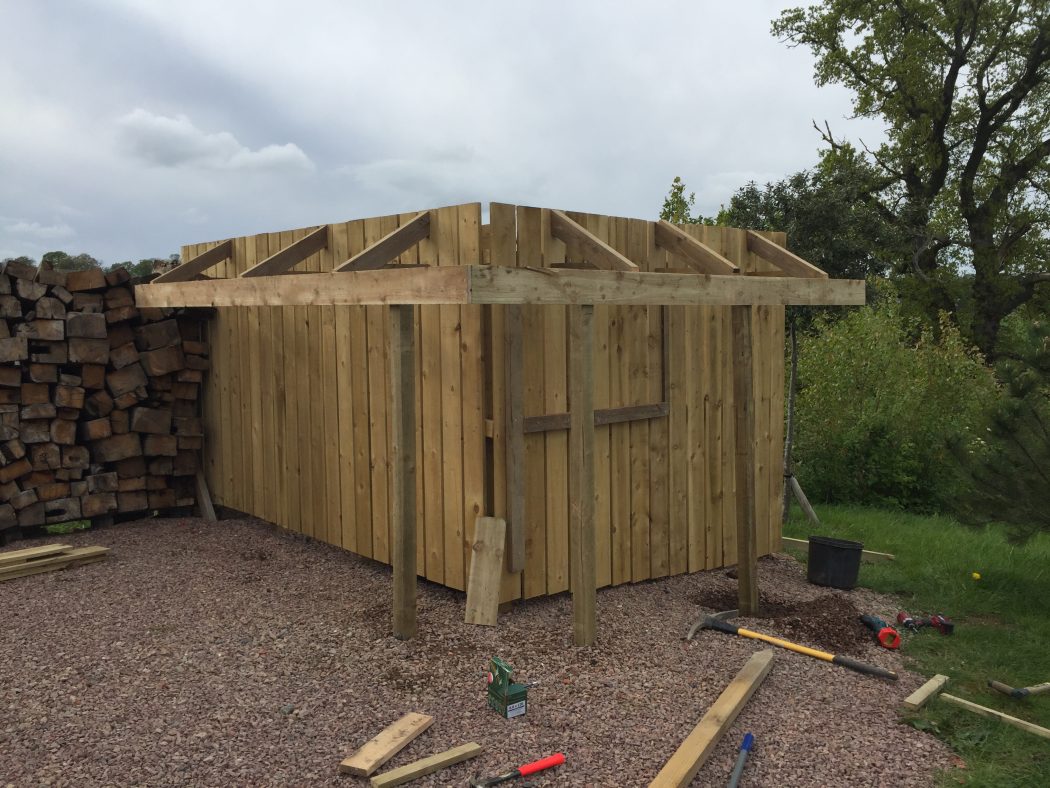
With the roof supports in place, more support beams were cemented into the ground (we weren’t taking any chances) and front panel boards were mounted. We tried to google how to build a log store with a 90-degree bend, and couldn’t find any information so we just used our own rational though and basic DIY skills to keep forging ahead. The roof joint was by far the biggest headache.
We borrowed a mitre saw from our neighbour and it was extremely helpful and really accelerated the building process. Best part, we still have all 10 fingers.
To show our growing confidence, we even decided to add some shelves for our log store so that we could have separate areas for large pieces of wood, medium ones and kindling.
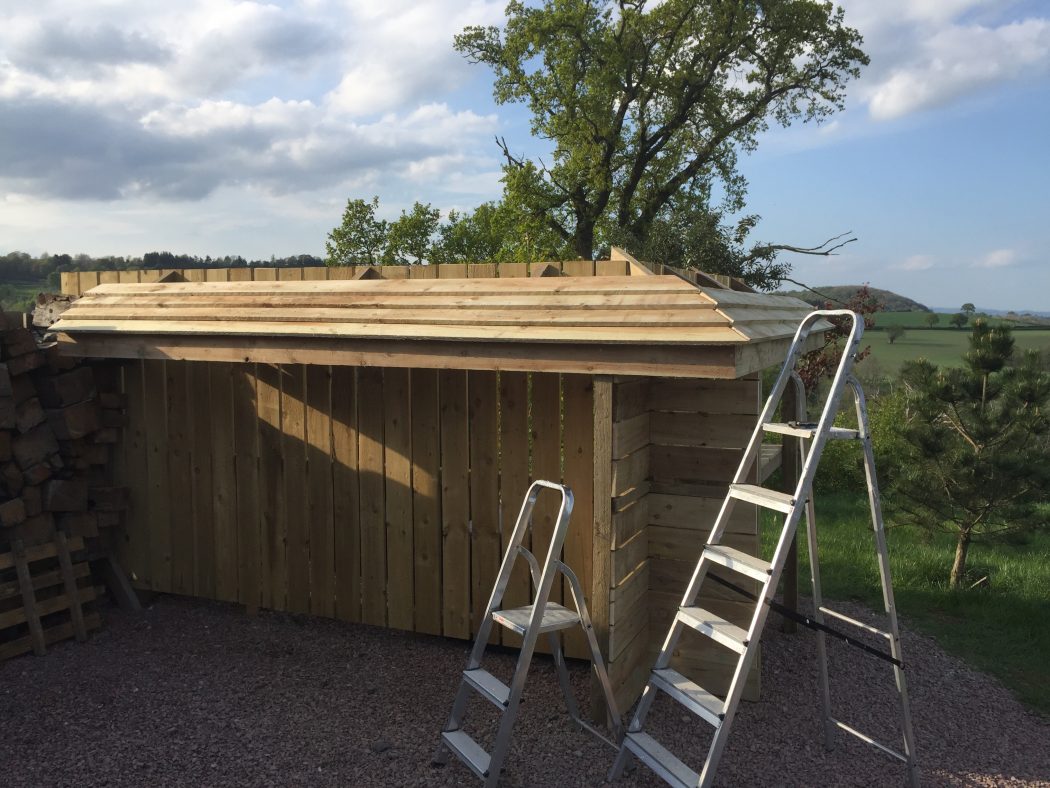
Day by day, we were making good progress, and day by day our log store was looking more and more impressive. It wasn’t without its faults, but with no assistance and experience of this kind, we were proud of what was taking shape.


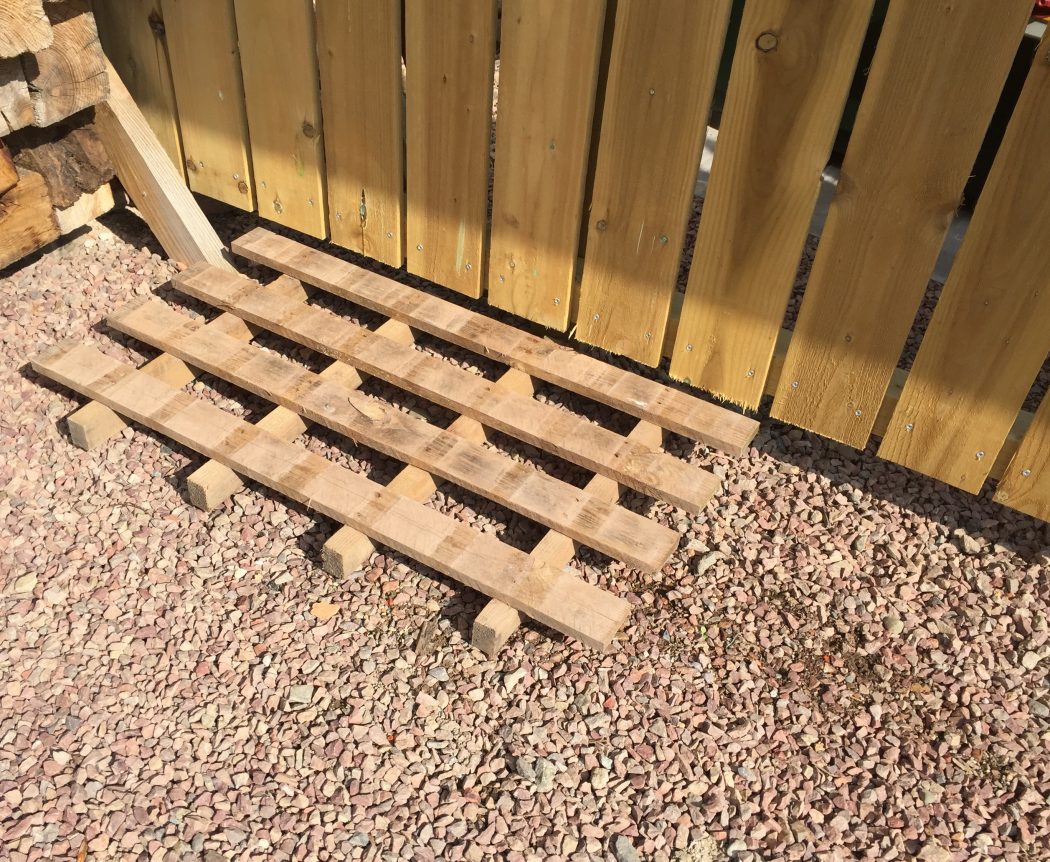
With the bulk of the log store complete, we got some crates from our hardware store that we would use to store the wood on so that it didn’t have to lie on the ground and potentially rot from the bottom.
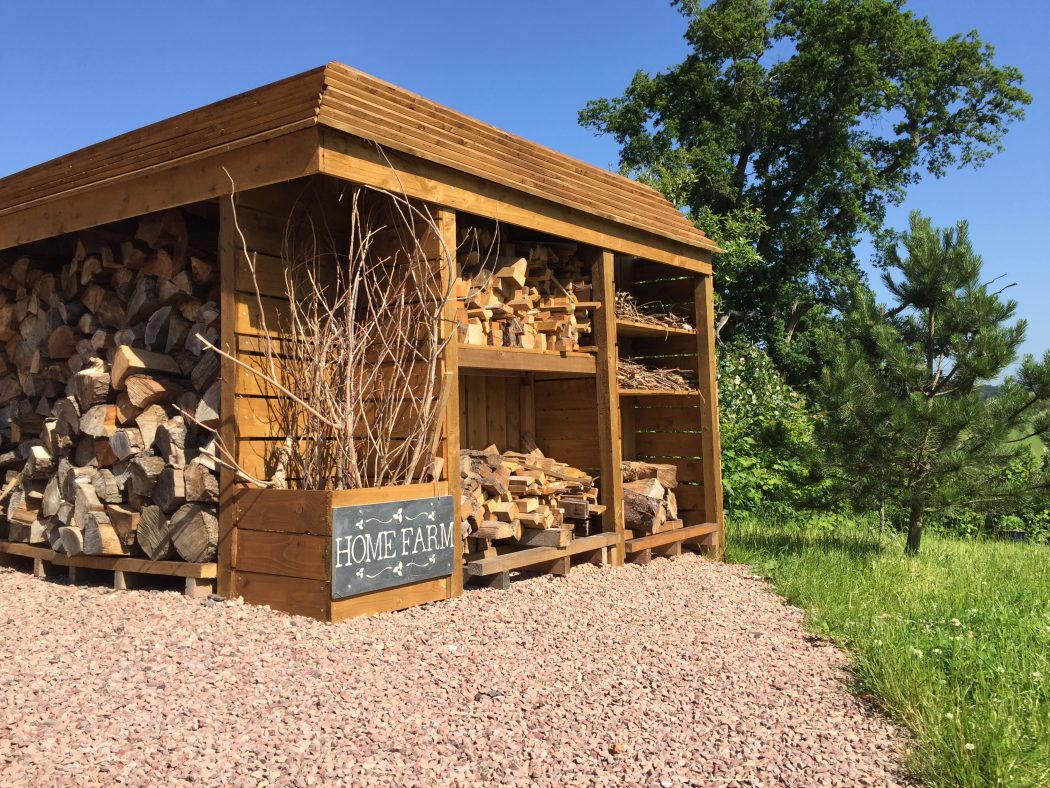
With the log store built, and crates in place, it was time to stain the wood so that it matched the surrounding wood cladding around our house.


The entire process, from start to finish took us about three weeks. We didn’t work on it every day, because we were often waiting for wood deliveries or there were other tasks to work on, but we are extremely proud of the way it turned out. We also know that we used good quality materials, so this log store and fence should be around for a good few years.
While it may not be perfect from the way a trained carpenter or joiner would have done it, we still feel it’s a job very well done.
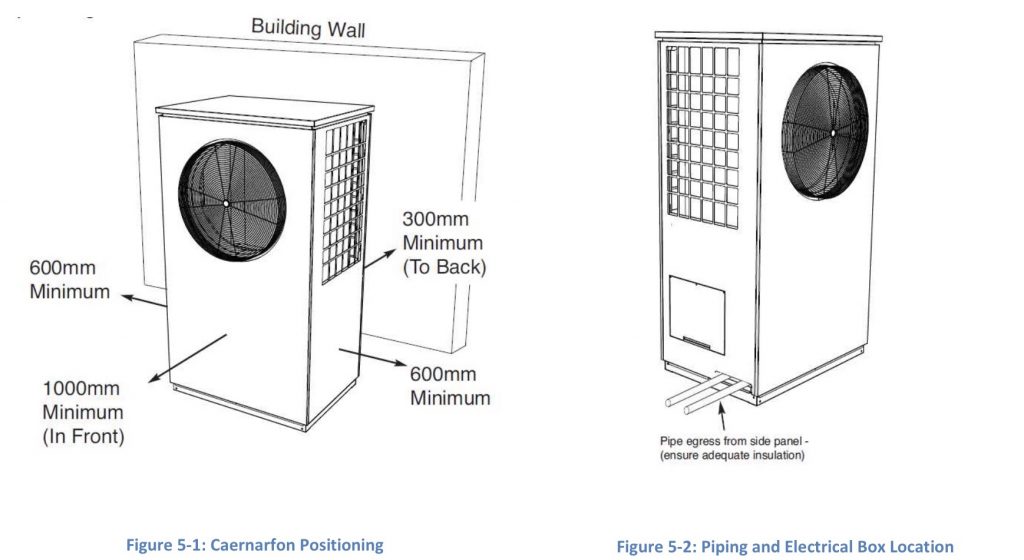
Spacing around an ASHP
When we built the log store around our ASHP we adhered to the manufacturer’s guidelines about spacing, which we’ve addressed in a reply to Bob below.
As a reference and guideline, we’ve provided a diagram to assist others if they want to build a fence around their pump.