
As part of our expanding DIY skills, we re-siliconed our guest shower because the silicon laid by the previous owners had started to mould and peel away. It’s critical that you prevent water from getting behind your tiles and grout. These are our top tips for siliconing your shower.
Watching YouTube videos is helpful, but you’re watching experienced people showing you how to do a fiddly task. There’s a learning curve to siliconing and we’re going to share our tips from our amateur experience that may be of some help.
One of the most important things is if you’re siliconing over old, manky silicone, don’t just apply the new silicone over it and make it look pretty. It won’t last. Remove all the old silicon and grime, and make sure the surface you’re working on is dry.
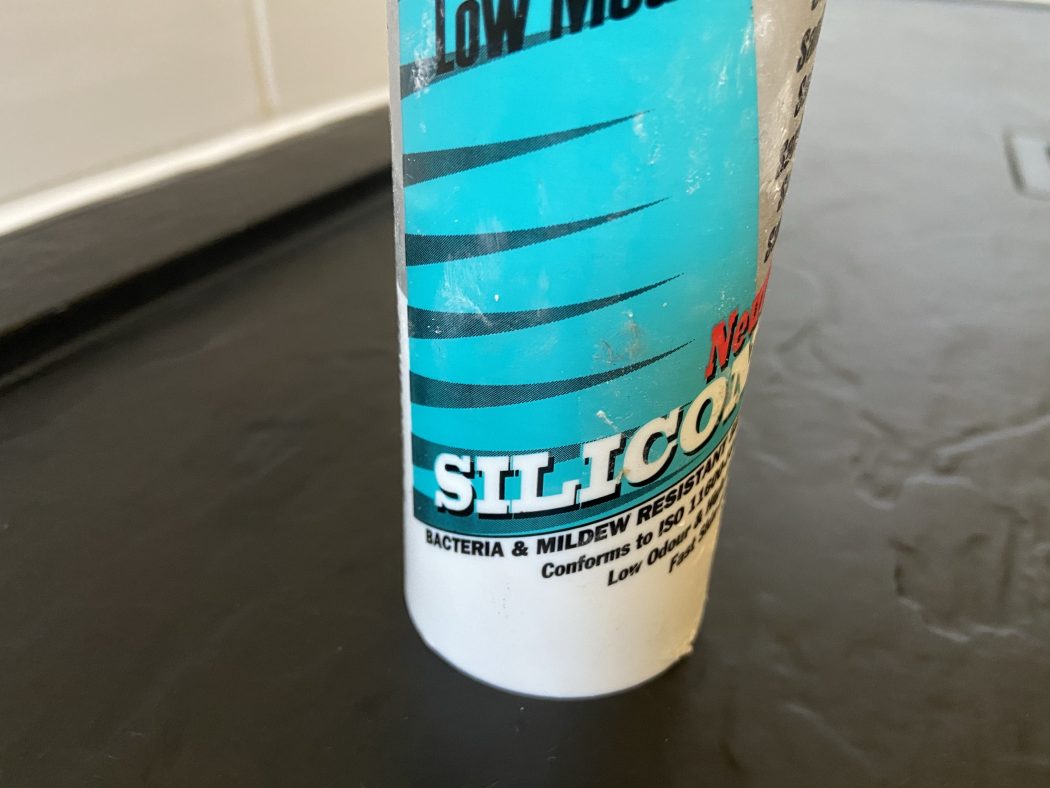
Make sure you also buy an anti-bacterial and mildew/mould resistant silicone. It’ll be a bit pricier, but believe me it’s worth it in the long run as you don’t want to be re-siliconing your showers on an annual basis. We used this one by Dow and we’ll keep you updated if it is mildew resistant in future posts.
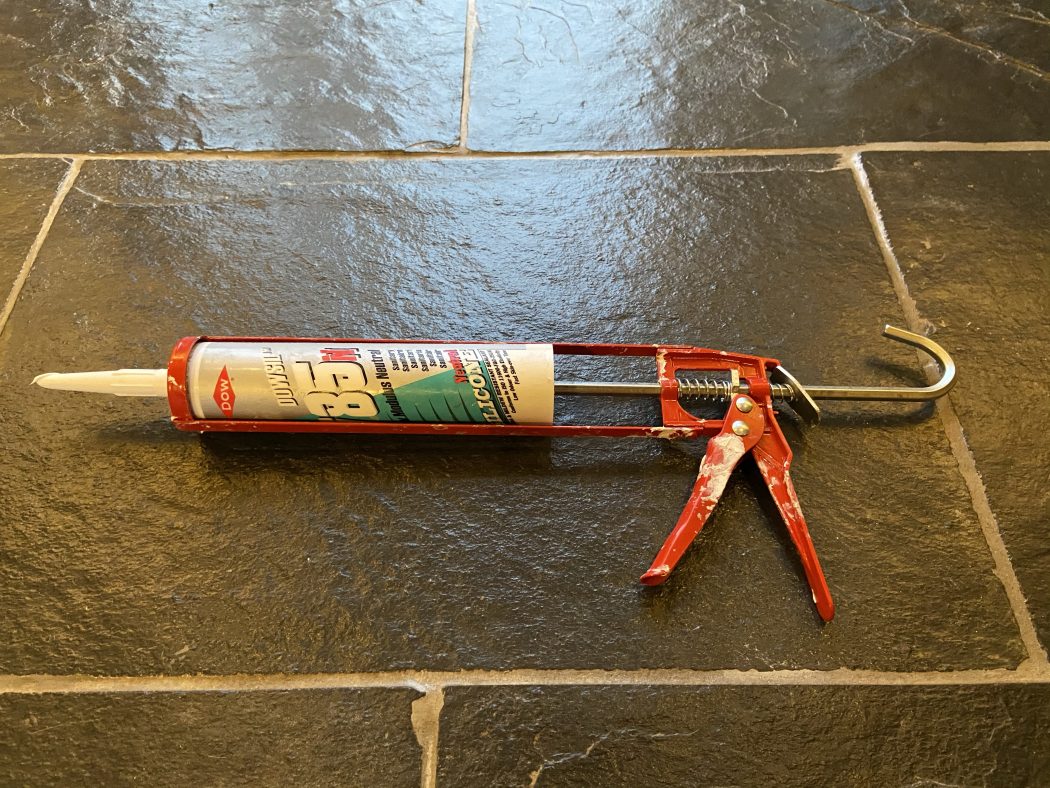
Once you’ve prepped your area, get your silicon tube, cut a 45-degree slit in the nozzle and load it into your gun.
Apply with confidence. If you mess it up, don’t fret as it’s relatively easy to clear up while it’s still wet. Once you’ve got a good line of silicone, dip your finger into a bowl of water and run it over the full length of your line to get a smooth finish.
Our biggest tip for first timers
As you run your wet finger over the silicone you’ll get some that pushes onto the tray and tiles above. This is where Wonder Wipes come to the rescue.
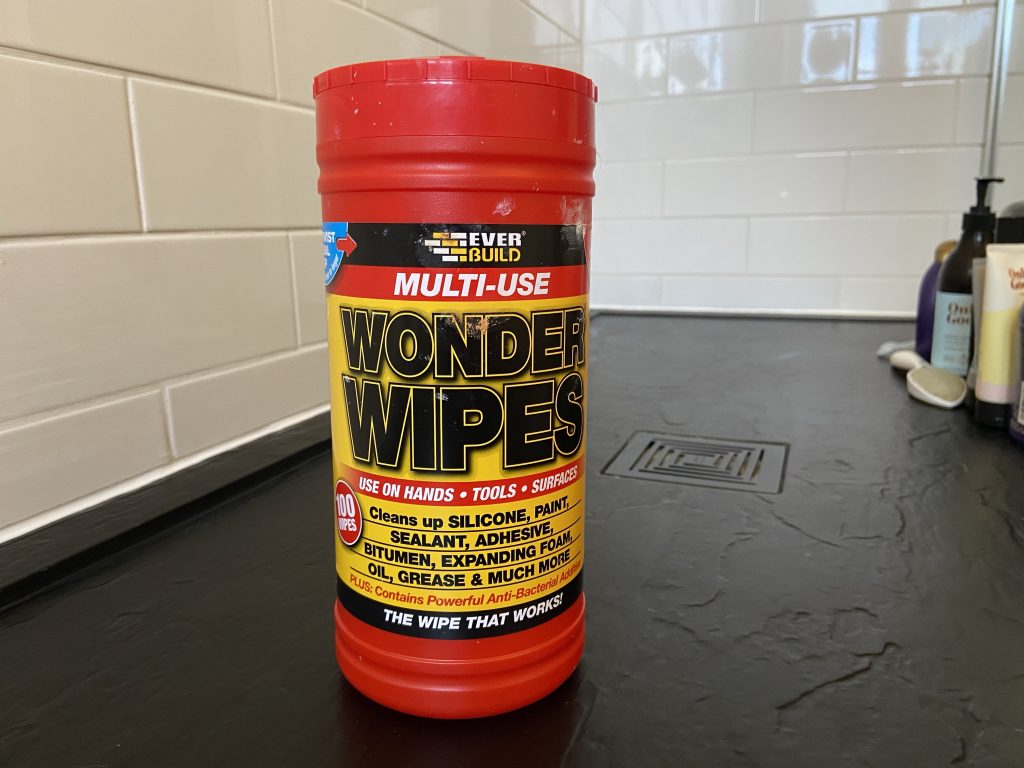
You can try and wipe the excess silicone off the tiles and tray using kitchen roll, but it’s not completely effective and may leave a ‘greasy’ trail one the silicone dries. These Wonder Wipes are incredible. They allow you to fully clean around the space as you work and allows you to have a top class finish. They are excellent and highly recommended.
Full disclosure though. While these wipes are amazing, they’re also super toxic. So use gloves if you can, or wash your hands thoroughly while using them.
Wrapping up
After our first pass, based on our skillset, the silicone finish should be 95% done. Corners and joints are always a nightmare – allow this first application to set, then dab some silicone in areas that need filling and finish with a wet finger. One final clean up with the Wonder Wipes and you should be done.
If you’re confident and patient, you should never require assistance again, and all you’ll have to pay for is the silicone.