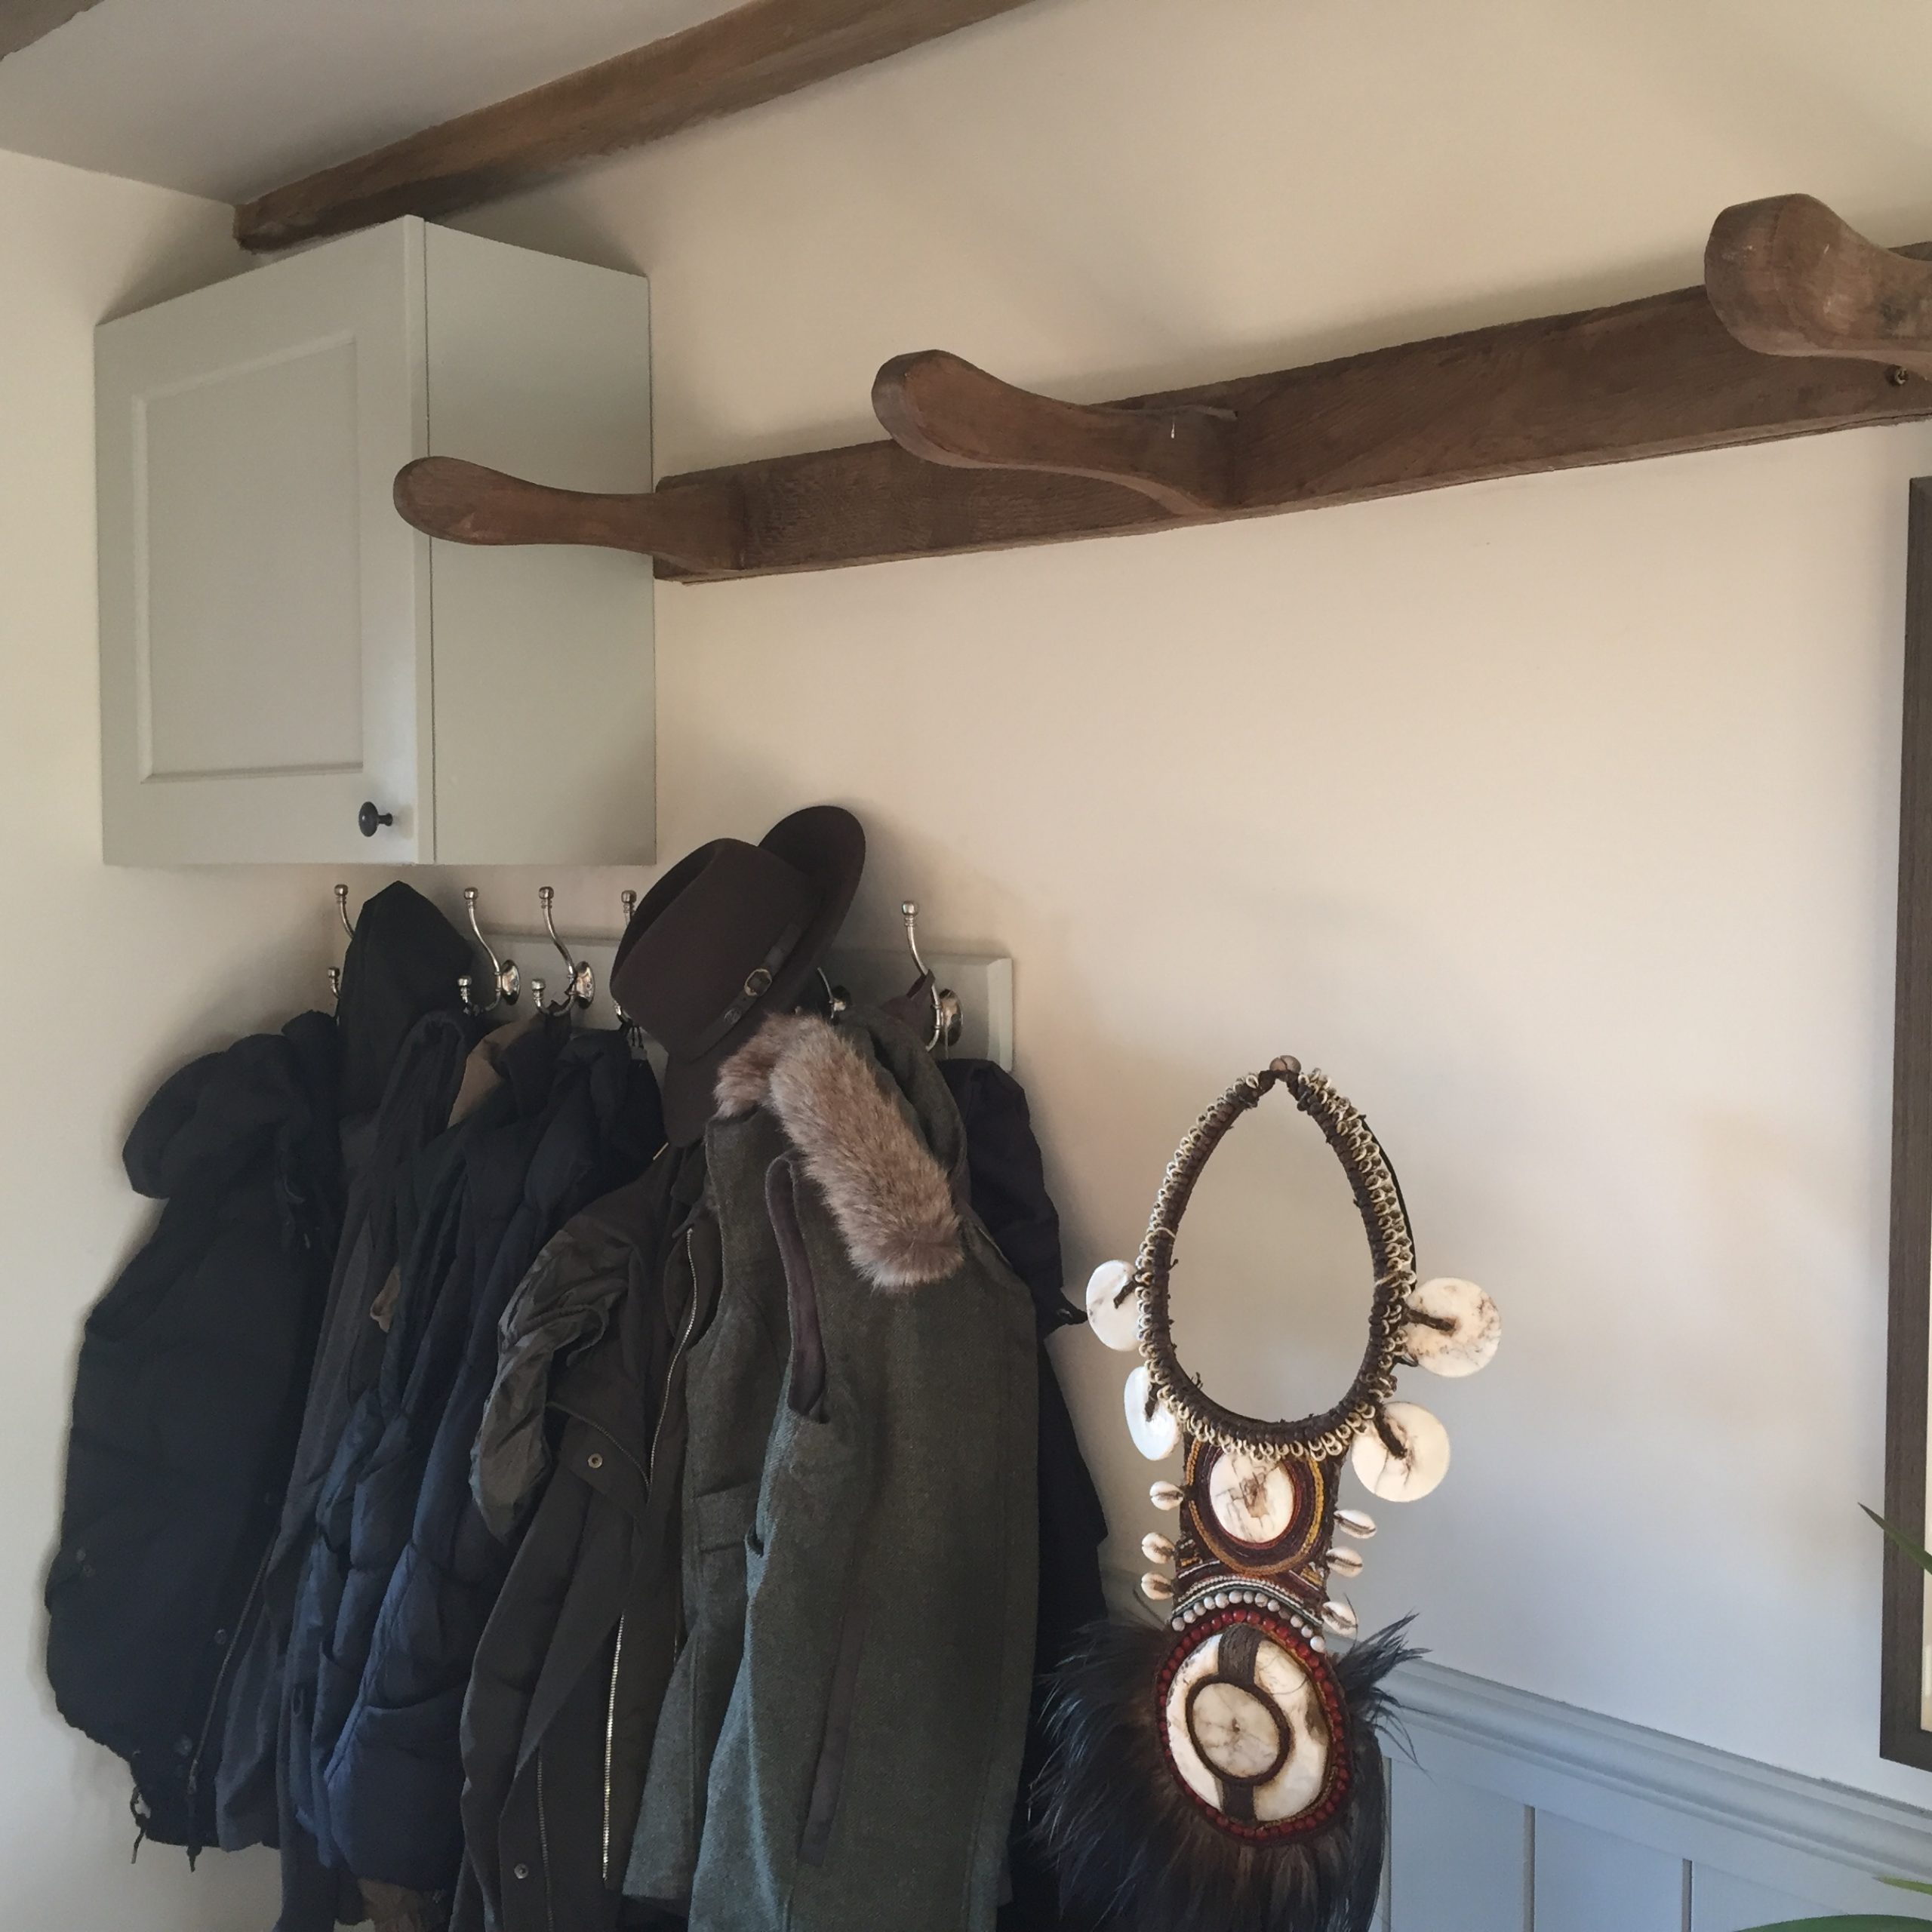
Our consumer unit, where all the circuit breakers and fuses are for the house, is located in the hallway. The previous owners had never attempted to hide it, and it looked unsightly so we decided to build a cabinet to conceal it.
As part of the installation work for our solar PV system and air source heat pump there was a lot of wiring work at the consumer box. With all the major work completed, it was time to make this area tidier and more elegant.

We had a spare kitchen cabinet door that we had no use for, and when we measured the space around the consumer box, it was the perfect size. All we needed to do was to build a frame, buy some hinges and we’d have an elegant cupboard covering it.
What we purchased for this project
I headed down to the hardware store, purchased a length of 3x4cm wood, one board off-cut and two hinges – less than £10 in total. When we looked online for custom cabinets, we were getting figures that were hundreds of Pounds, so for a few hours of work, the savings would be significant.
The plan of action
The most difficult part of this project was the accuracy of measuring. I needed to work out the exact size of the frame, and how to embed the side panel (the off-cut) so that it would be flush with the edge of the door. To be honest, this took the most time, and with every new piece of wood I cut to make the frame, I would remeasure to ensure that everything would fit together properly.

I knocked the frame together using the wood from the hardware store, and went with another off-cut I had in the garage (the piece to the left) to give myself additional space to mount the hinges.
With the frame built, I could now screw on the side panel and complete the carcass of my cabinet box.

Next, we had to paint the cabinet door and our box – we opted for same colour (cromarty) that we have used in the hallway to maintain consistency.
Moment of truth
Despite all the measuring, it’s always a nervy time when it’s time to put the finishing touches on a project.
First up, I pre-drilled all my pilot holes into the cabinet frame, drilled the holes into the wall to match the cabinet, and put the plugs into the drywall.

I then mounted the frame to the wall. So far, so good.

With the frame in place, I attached the hinges to the frame.

Success. I then screwed the handle into my pre-drilled hole.

Looking great
Everything went according to plan, and the cabinet not only hides the unattractive consumer box, but it makes the hallway look more complete and in keeping with the rest of the house.
After a quick vacuum and wipe, we replaced the coats, and we’re really pleased with the outcome of this project, which cost us less than £10.


Having never built a cabinet before, I am extremely pleased with the way it turned out.
